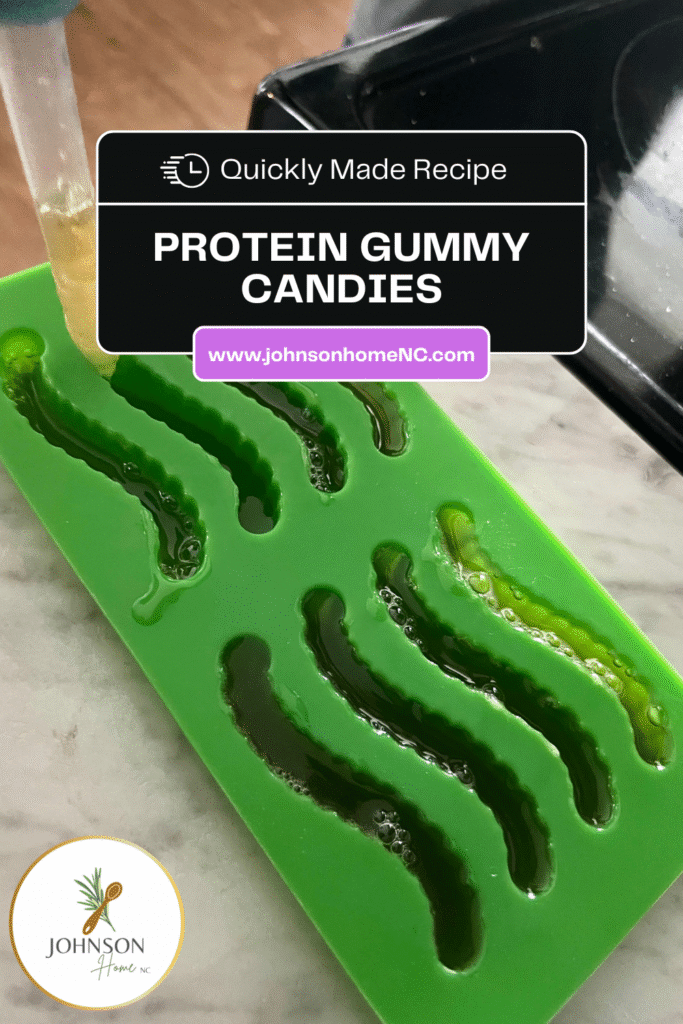
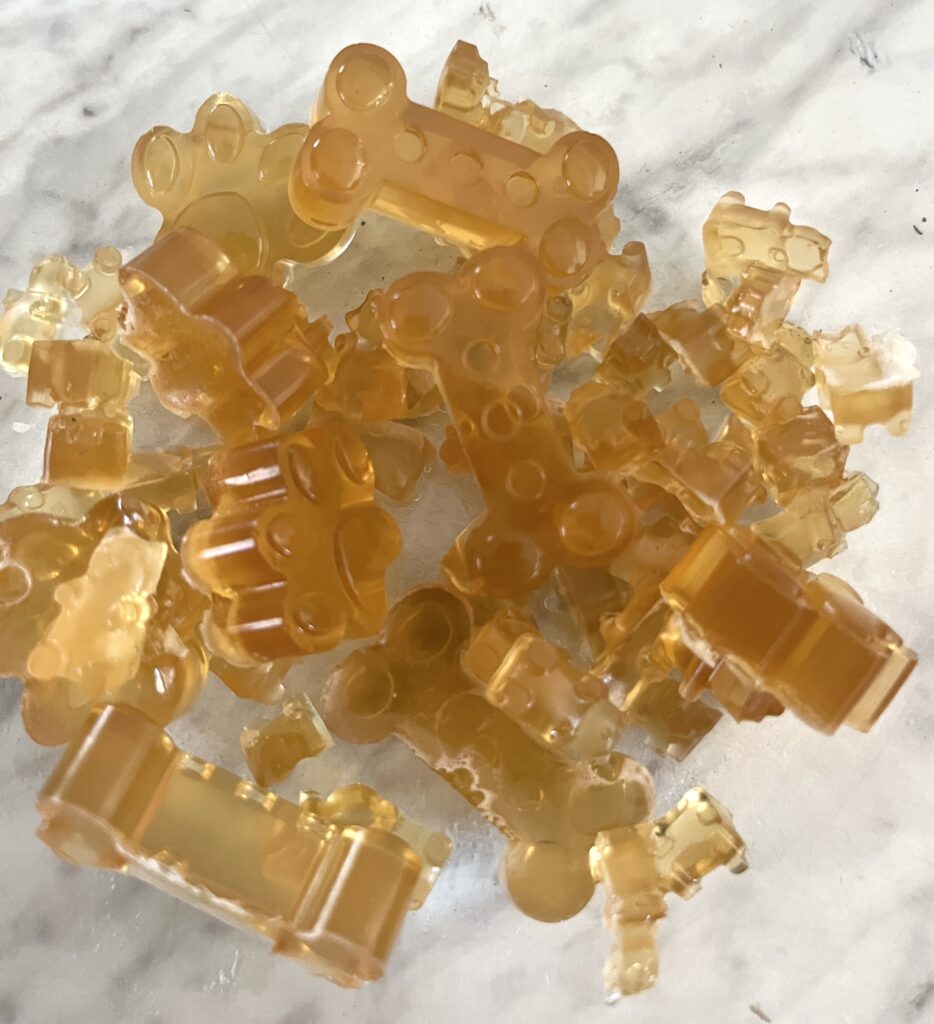
Do you kids like gummy candies but you, Mom, don’t love all the high fructose corn syrup and food dyes? I’ve got you, friend! And here’s the best part about this gummy recipe: teach your kids how to make it and you won’t have to anymore! Create healthy, protein-packed, no added sugar gummy candies with fruit juice, a drizzle of honey, and grass-fed bovine gelatin.
This post contains affiliate links, which means I make a small commission at no extra cost to you. I will always encourage shopping local, small, and direct FIRST.
Candy warning: these could pose a choking hazard to some small children. Please be mindful and use good parental judgment.
Gummy Candies Ingredients
- grass-fed bovine gelatin with 9 grams of types I and III collagen proteins
- fruit juice of your choice (or elderberry syrup!)
- lemon juice
- drizzle of local raw honey
Suggested Fruit Juices
- apple
- cranberry mixes
- cherry
- pomegranate
It is suggested that these 100% fruit juices are not okay to use as their enzymes will not allow the gelatin to set up correctly: pineapple, kiwi, mango, and papaya.
We have used pineapple juice before but do not remember if it was 100% fruit juice pineapple juice or not.
Materials
Gummy bear or gummy worm molds
Parchment or wax paper (optional but for easy clean up)
Stainless steel cookie sheet (optional but adds stability for moving the molds)
Jump to RecipeHow to make homemade gummy candies
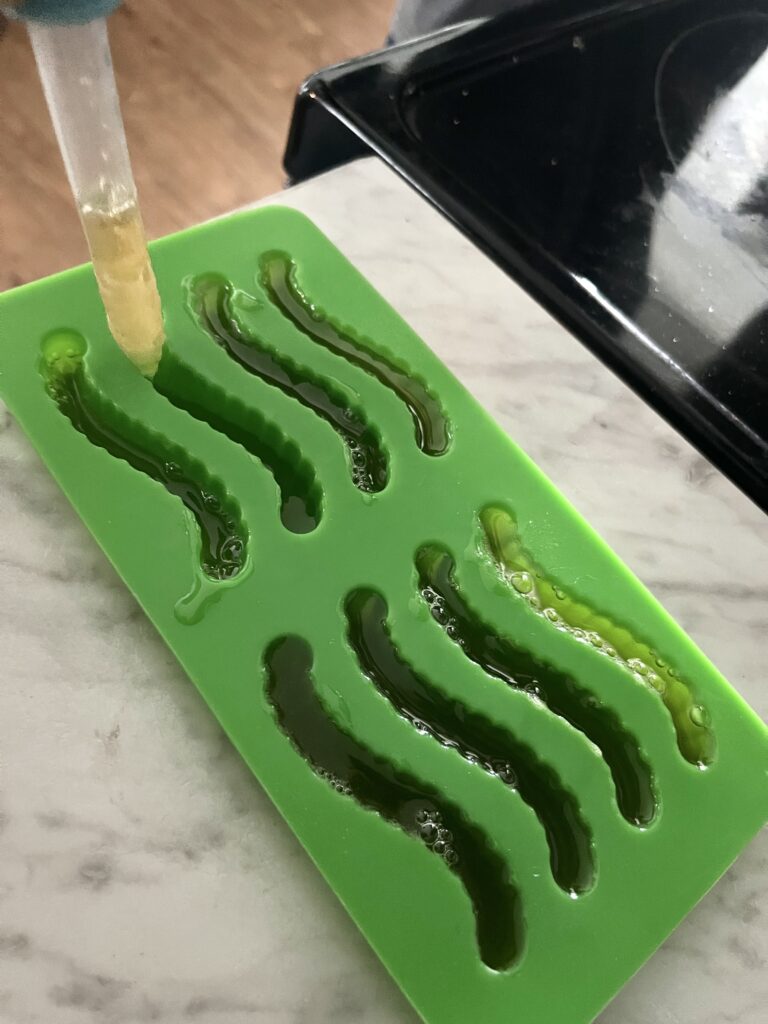
In a sauce pot, add fruit juice, lemon juice, and gelatin. Gently whisk and let the mixture sit for a few minutes.
Then add honey to the mixture.
NOW, turn on the heat. Warm up the mixture while gently whisking. Be sure the heat is low. No boiling! As the mixture heats up slow and low, it will become a liquid. When liquid occurs, turn off the heat and use a spoon to scoop any foam off the mixture.
This is a good time to grab a stainless steel cookie sheet to set gummy molds on for stability in the move to the fridge. It’s also helpful to use parchment or wax paper under the molds for easy spill clean up. Gelatin that has solidified can be hard to clean off the countertops and inside of the refrigerator.
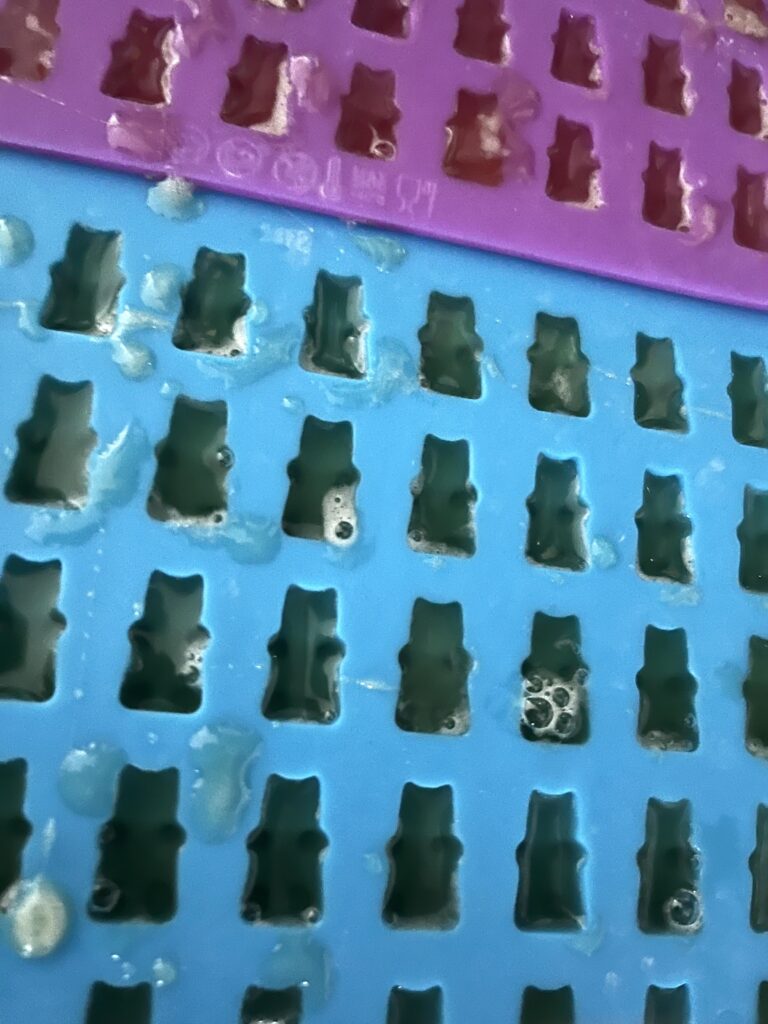
Next, use the dropper that came in your gummy mold kit (less mess, still some but significantly less) to suck up the liquid mixture and deposit it into the molds. Fill each mold to the top. Do know that while the dropper helps with the mess, it will create more bubbles. My kids do not seem to mind the bubbles. We aren’t here for the aesthetics.
Allow the gummies to set for 15 minutes. This allows time for the liquid to solidify some before moving the cookie sheet of gummies to the fridge for 1-2 hours.
After a few hours, remove the gummy candies from the molds and store in an air-tight container.
Why you’ll love these homemade gummy candies
- No high fructose corn syrup.
- No food dyes.
- No citric acid.
- No “natural flavors”.
- Complete control over the ingredients!
- A fun, healthy candy kids will love.
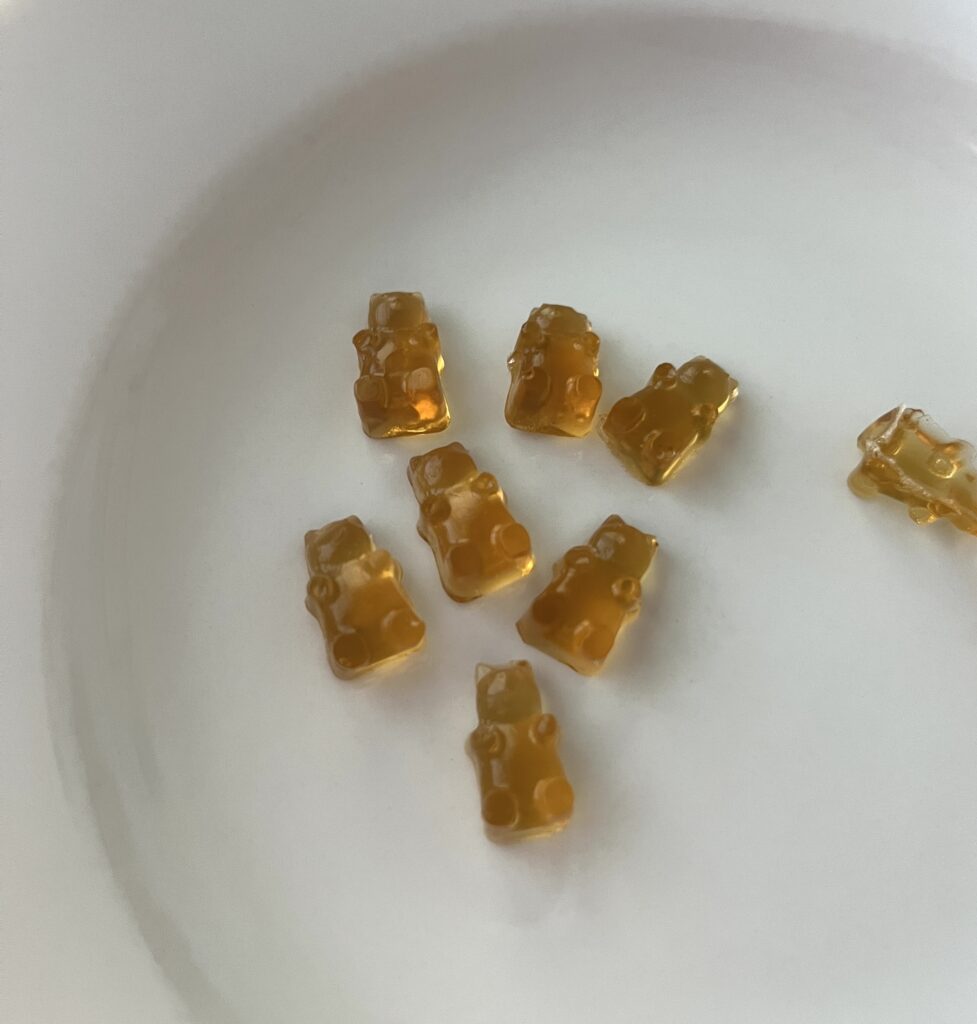
You get to control the ingredients and make these gummy candies a protein source!
Now hear me when I say these gummies shouldn’t replace a meal but knowing there are 9 grams of protein in 1 tbsp of this gelatin powder vs. 1 gram of protein in many gummy candies loaded with other crap ingredients. Not sorry for the harsh word, it’s the truth.
These homemade gummy candies are easy to make and easily devoured.
How to properly store gelatin-based homemade gummy candies
Our family has only ever stored our homemade gummies in the refrigerator where the they can last up to 6 weeks.
Other storage options are freezing in freezer safe bags and thawing when ready to consume. Freezing gummies can make them last up to 6 months.
Storing homemade gummies in an airtight container is key. Keep out air and moisture to prevent mold growth!
*Keep gummy candies out of excessive heat or sunlight to prevent melting or stickiness of gummies.
Generally speaking for my family, these sweet treats do not last long no matter how you choose to store them! They are simply that tasty.
If you should ever suspect any spoilage, mold growth, or anything suspicious; when in doubt, throw it out!
What should I do if the gummy candies get hard?
In the event that the gummy candies dry out, add a little bit of the original juice to the container.
We use these silicone “bags” and keep them in the refrigerator (especially the elderberry gummies as we don’t consume large quantities of those at one time).
Sometimes the bag doesn’t seal right from little hands attempting to close it. The gummies can dry out a little bit making it super hard to chew up the gummy candies.
I’ve found if you add about 1 tablespoon of juice into the container and close it up tight, the gummies will rehydrate again. Again, this is when the gummy candies are stored in the refrigerator.
Fun ways to incorporate homemade gummy candies:
- a snack time
- as a treat
- in popcorn (like as a trail mix or a popcorn bar)
- as an ice cream topping
- as a vitamin (when using elderberry syrup or something similar) SEE DISCLOSURE STATEMENT
- in a beverage like lemonade, soda, or sparkling water

Be mindful of small children!
Candy warning: these could pose a choking hazard to some small children.
Please use your own discernment when allowing your young children to eat gummies and monitor them carefully.
SHOP THIS POST
Gummy Bear molds
Gummy Worm molds


Homemade Gummy Candies
Ingredients
Equipment
Method
- In a sauce pot, add fruit juice, lemon juice, and gelatin. Gently whisk and let sit for a few minutes.
- Then add honey to the mixture.
- NOW, turn on the heat. Warm up the mixture while gently whisking. Be sure the heat is low. No boiling! As the mixture heats up slow and low, it will become a liquid. When liquid occurs, turn off the heat and use a spoon to scoop any foam off the mixture.
- This is a good time to grab a stainless steel cookie sheet to set gummy molds on for stability in the move to the fridge. It’s also helpful to use parchment or wax paper under the molds for easy spill clean up. Gelatin that has solidified can be hard to clean off the countertops and inside of the refrigerator.
- Next, use the dropper that came in your gummy mold kit to suck up the liquid mixture and deposit it into the molds. Fill each mold to the top. Do know that while the dropper helps with the mess, it will create more bubbles.
- Allow the gummies to set for 15 minutes. This allows time for the liquid to solidify some before moving the cookie sheet of gummies to the fridge for 1-2 hours.
- After a few hours, remove the gummy candies from the molds and store in an air-tight container.
Notes
If you like this homemade recipe, try these:

Follow Johnson Home NC for more like this
Feel free to follow Johnson Home NC on Facebook, Instagram, Pinterest, and YouTube.
Allow me to slip into your email inbox weekly with kitchen, gardening, and chicken raising real time happenings from our one acre North Carolina homestead right to you by joining our email list HERE.