Sourdough bread has been around for thousands of years but it’s become more popular in the last 5-10 years for sure. The internet is chock full of stunning photos of that Instagram influencer’s beautiful boule (the round sourdough breads with pretty etchings in the top). But what if you aren’t the bread artisan you thought you’d become when you first dabbled in sourdough? What if you adore that noticeable tang in sourdough bread but prefer to just make bread and eat it instead of admire its beauty? I’ve got the recipe and technique for you, friend. Enjoy this no-fuss sourdough loaf.
Good bread is…
Simply flour, water, and salt!
Sourdough has wild yeast in it (good bacteria) which creates that sour tang we know and love.
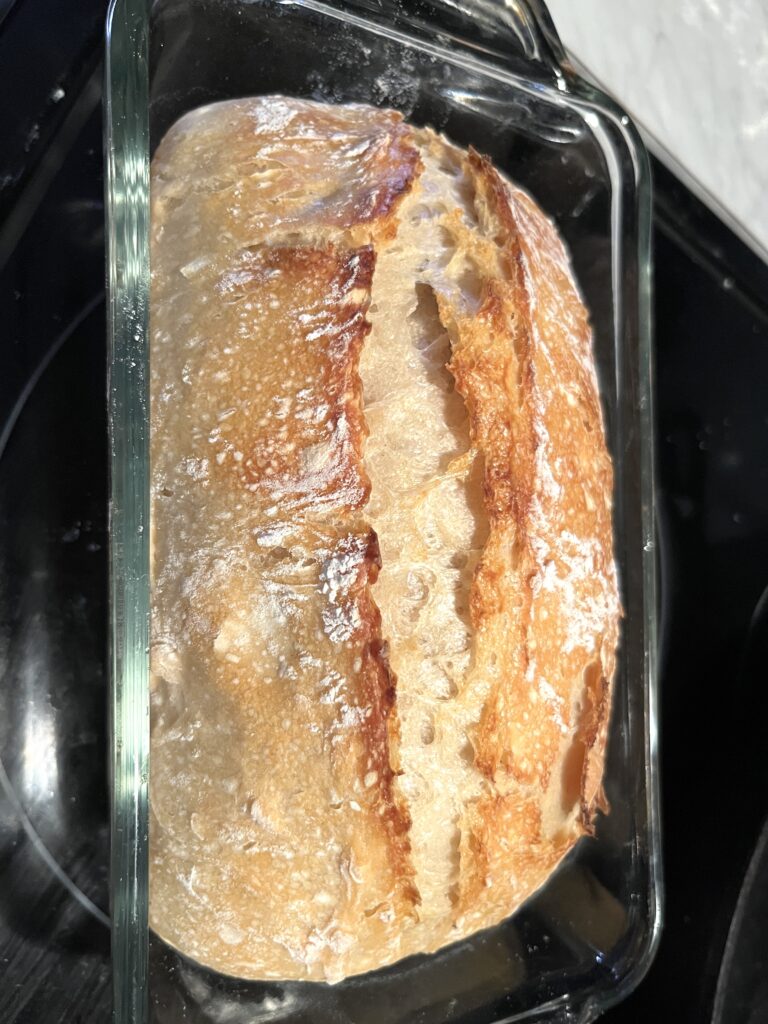
Keep bread simple by using this recipe and skipping the fancy shape and score artisan boule by just shaping your bread dough into a rectangle, (gently) tossing it into a loaf pan, slice the top so the bread doesn’t explode, and bake that baby!
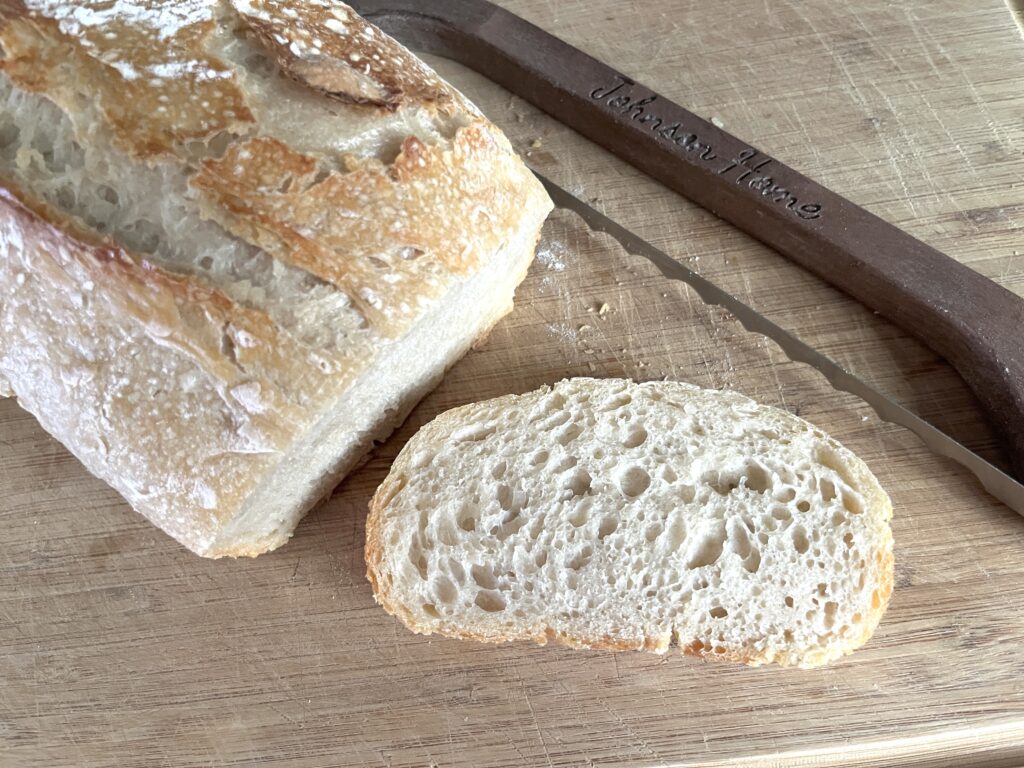
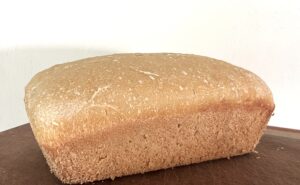
Slice her just like you’d slice sandwich bread.
Sure, she’ll be a little more crunchier than sandwich bread but making true sourdough with plain flour, water, and salt doesn’t have to be fussy… or perfect.

The no-fuss sourdough loaf recipe
MATERIALS:
- kitchen scale
- mixing bowls
- tea towel or plastic wrap
- bread lame or razor blade
- parchment paper
- loaf pan (you will need 2)
INGREDIENTS:
- 100 grams active sourdough starter
- 350 grams filtered water (well water is fine as is)
- 500 grams flour (all-purpose or freshly milled or a mix of the two which is my family’s favorite. Freshly milled flour will be slightly tougher to work with as a dough. All-purpose is much stickier.)
- 10 grams salt like Redmond Real Salt
- 1 teaspoon avocado oil (or olive)
INSTRUCTIONS:
Begin by mixing together sourdough starter, flour, water, and salt in a mixing bowl. Use a spoon or silicone spatula to start then you may use your hands. Note: this dough will be very sticky!
Allow the dough to rest for 30 minutes with a tea towel covering the bowl.
After 30 minutes, do a series of 3 stretch and folds every 30 minutes for 2 hours. Set a kitchen timer (very helpful resource).
Once the last stretch and fold is complete, prep one loaf pan with avocado oil. Use your fingers to rub the oil all over the pan, up the sides and particularly in the corners. This will help the bread to release from the loaf pan once it is cooled after baking.
The dough may still be pretty sticky but gather it all and carefully shape it into a loaf/rectangle to fit the loaf pan. Gently place the dough in the loaf pan and cover pan with a tea towel or plastic wrap. If using plastic wrap, apply the wrap loosely in the middle. Leave room for the dough to expand and not get stuck to the plastic.
Now is time for the long ferment:
Allow the dough to sit and rise for several hours. Depending on the time of year and temperature of your home, this can take between 4 and 8 hours. You can also long cold ferment the dough overnight I the fridge but do allow the dough to come to room temperature before baking.
Once the dough has risen to right at or above the top of the loaf pan, it is ready to bake.
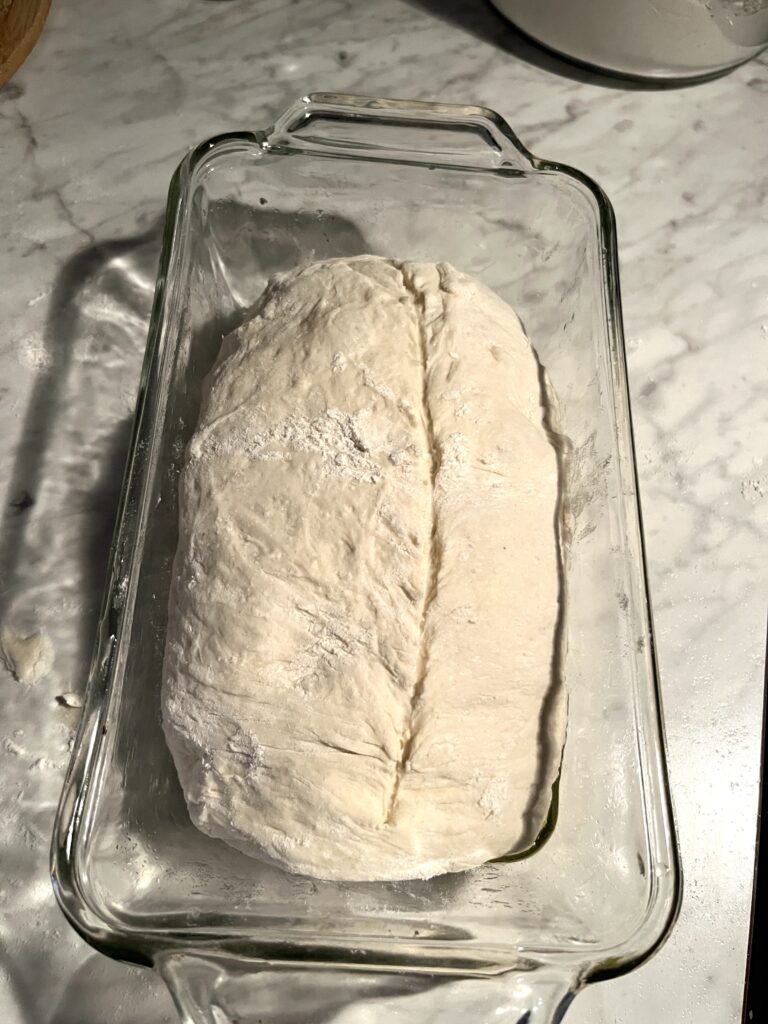
Remove plastic wrap or towel then use a bread lame or clean dedicated razor blade to score the top of the dough. Drag the blade long ways across the pan, not super deep.
Then use the other loaf pan to place upside down on top of the pan with the dough in it. Essentially, create a lid.
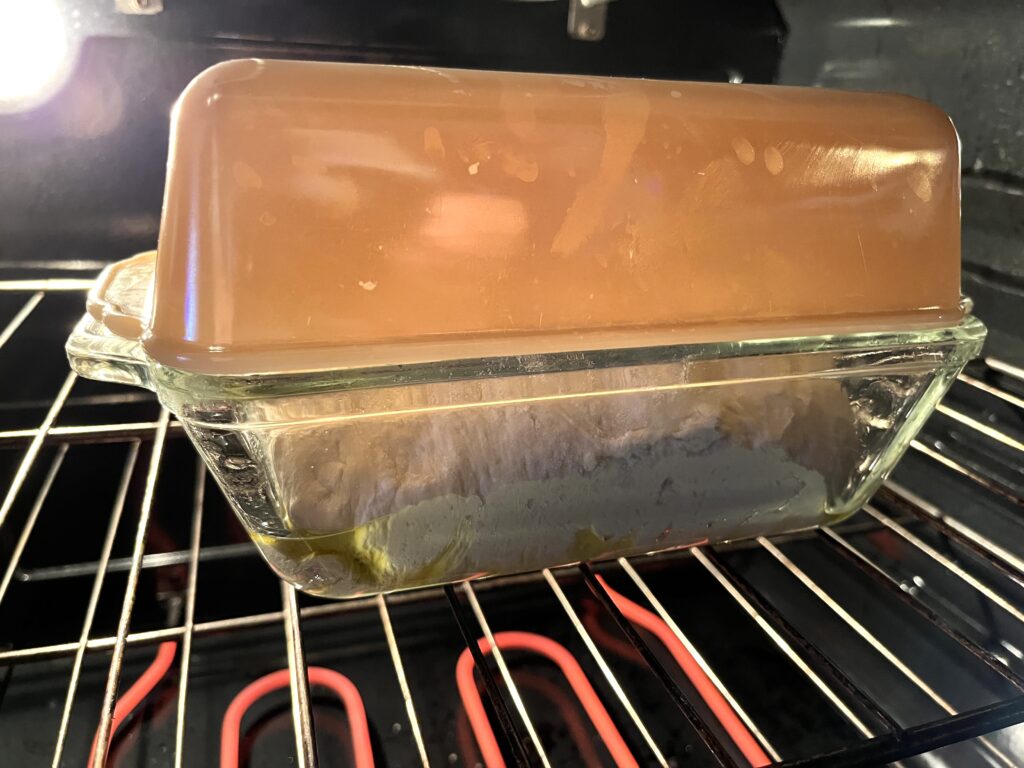
Now place loaf pan in a cold oven. Set oven to bake at 350 degrees for 25 minutes. After 25 minutes, carefully remove the loaf pan “lid” and continue to bake for about 30 more minutes or until the bread is as brown as you prefer.
Once the no-fuss sourdough bread is as done as you prefer, allow it to cool in the pan before removing, slicing, and enjoying as a toast or sandwich bread.
What if I cannot wait 8 hours for dough to rise?
Oftentimes I start sourdough in the late afternoon or early evening because life happens and I could not get it started earlier in the day.
Whenever this is the case, I will allow the dough to cold ferment in the fridge overnight. Make sure the loaf pan is covered. I prefer plastic wrap loosely covering it to allow moisture to remain in the dough.
In the morning, remove the loaf pan, with the cover still on, from the fridge and allow it to rest on the counter for at least 3 hours before baking according to the instructions in the recipe.
A cold ferment will allow some fermentation/rising to occur in the fridge overnight without it over-fermenting (rising then falling). But a cold ferment still needs sometime at room temperature before baking, as per my own experiences.
Jump to RecipeWhat does room temperature have to do with sourdough?
Temperature. Plain and simple.
Cold kitchens will mean a longer fermentation time. Warmer kitchens mean a shorter fermentation time.
Some people keep the homes cold in the summer with air conditioning. Some people keep their homes very warm in the winter with heat and fire places. Your personal situation will depend on what your dough needs. Keep an eye on your dough.
This is why I prefer clear glass mixing bowls and loaf pans. I can see the bubbles and fermentation and rising happening. I can then get a better idea of how much more time it needs to ferment or if it’s risen enough for me to go ahead and bake.
No-fuss sourdough bread still needs planning
I know, I know. Timing.
This is why so many people reach out to me wanting to know more about baking sourdough or purchasing dried sourdough starter but quickly tell me they don’t have time for sourdough. It just takes too long.
To that, I answer with this recipe… Yeast Bread in just a few hours. Save the sourdough for the weekends.
A No-Fuss Sourdough Bread Summary
Sourdough need not be fancy or perfect. Bread is simple and delicious.
Like all good things, sourdough takes time.
If you have any sourdough questions, please leave them in the comments! Happy bread baking, friend!
Follow Along and Get More Sourdough Recipes
Feel free to follow Johnson Home NC on Facebook, Instagram, Pinterest, and YouTube.
Allow me to slip into your email inbox weekly with kitchen, gardening, and chicken real time happenings from our one acre North Carolina homestead right to you by joining our email list HERE.

No-Fuss Sourdough Sandwich Loaf
Ingredients
Method
- Begin by mixing together sourdough starter, flour, water, and salt in a mixing bowl. Use a spoon or silicone spatula to start then you may use your hands. Note: this dough will be very sticky!
- Allow the dough to rest for 30 minutes with a tea towel covering the bowl.
- After 30 minutes, do a series of 3 stretch and folds every 30 minutes for 2 hours. Set a kitchen timer (very helpful resource).
- Once the last stretch and fold is complete, prep one loaf pan with avocado oil. Use your fingers to rub the oil all over the pan, up the sides and particularly in the corners. This will help the bread to release from the loaf pan once it is cooled after baking.
- The dough may still be pretty sticky but gather it all and carefully shape it into a loaf/rectangle to fit the loaf pan. Gently place the dough in the loaf pan and cover pan with a tea towel or plastic wrap. If using plastic wrap, apply the wrap loosely in the middle. Leave room for the dough to expand and not get stuck to the plastic.
- Now is time for the long ferment. Allow the dough to sit and rise for several hours. Depending on the time of year and temperature of your home, this can take between 4 and 8 hours. Once the dough has risen to right at or above the top of the loaf pan, it is ready to bake.
- Remove plastic wrap or towel then use a bread lame or clean dedicated razor blade to score the top of the dough. Drag the blade long ways across the pan, not super deep. Then use the other loaf pan to place upside down on top of the pan with the dough in it. Essentially, create a lid.
- Now place loaf pan in a cold oven. Set oven to bake at 350 degrees for 25 minutes. After 25 minutes, carefully remove the loaf pan “lid” and continue to bake for about 30 more minutes or until the bread is as brown as you prefer.
- Once the no-fuss sourdough bread is as done as you prefer, allow it to cool in the pan before removing, slicing, and enjoying as a toast or sandwich bread.
Notes
My favorite sourdough recipes