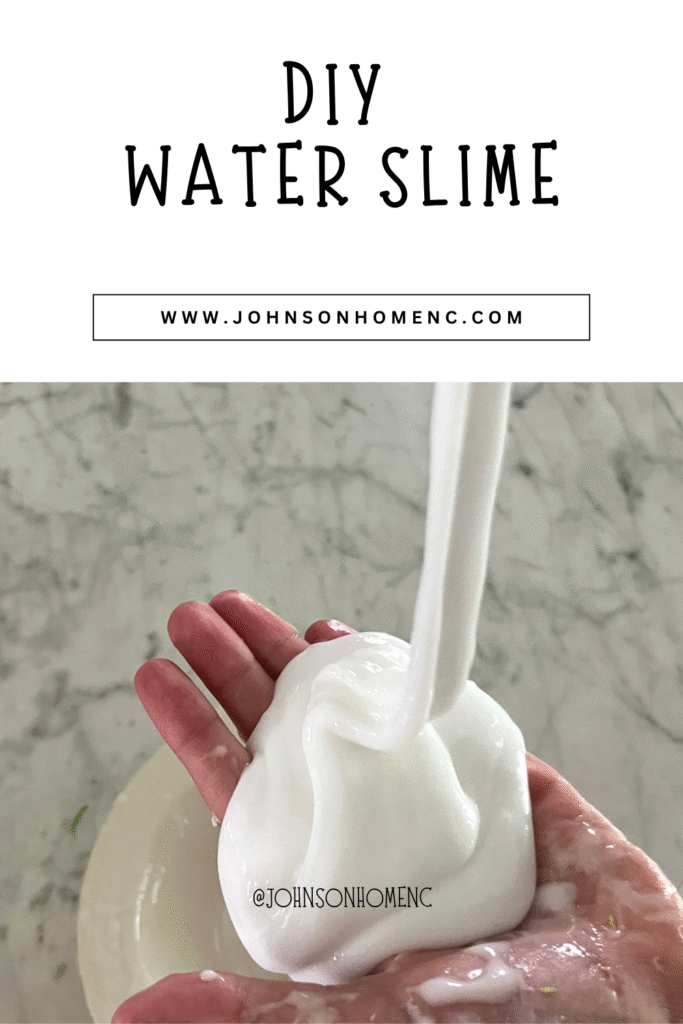
On this blog, you’re probably a mom-reader. So seeing a recipe for SLIME could be a hard NO for you. I get it! Truly I do. But my 9 year old daughter wanted to write for the blog (in hopes of earning some money) so we’ve turned this adventure into a full blown homeschool lesson for her this summer. Read on for Cece’s DIY Water Slime Recipe she has practiced many times for this blog post.
Cece’s recipe writing story
Cece wrote this recipe herself based off her trial and error experience after watching many episodes of her favorite slime channel on YouTube.
Mom had to go in with some grammatical fixes and also ask her what “activator” was and help get that recipe written as well for those who may not be sure what activator is, like me!
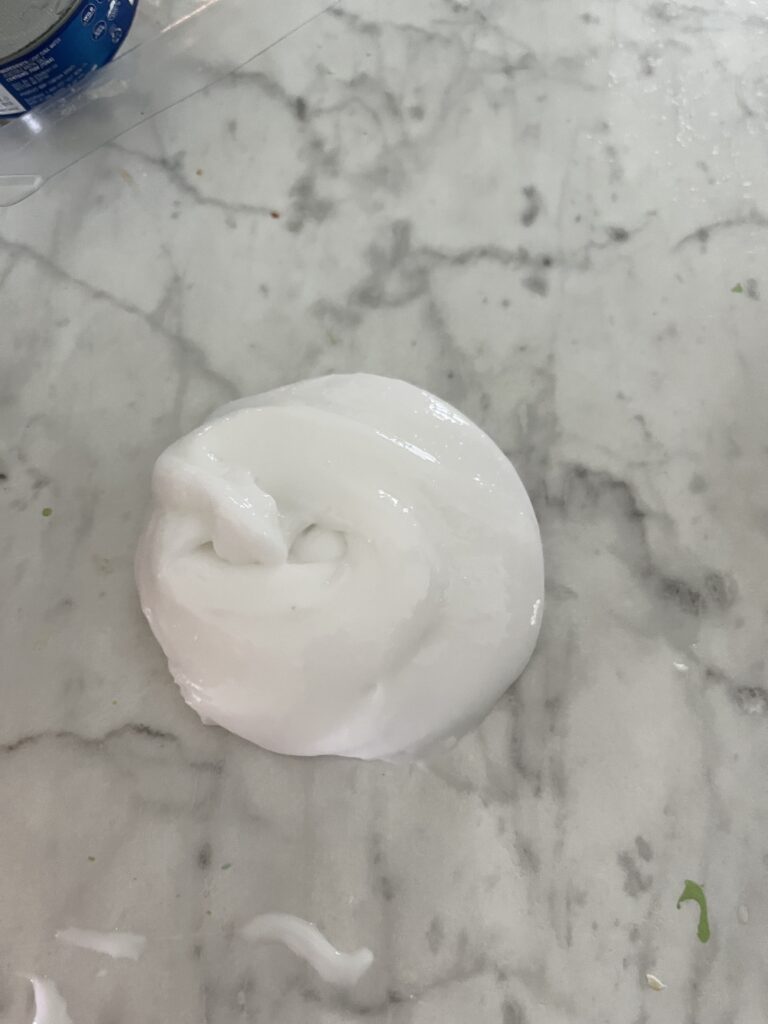
DIY Water Slime Ingredients
- 1/4 of a cup of glue [white or clear]
- 1/4 of a cup borax activator
Borax activator is a mix of water and Borax.
1 tsp Borax
1 quart of water
Label your jar or bottle of activator because it looks just like water but it most definitely is not!
DIY Water Slime How-To:
In a bowl, mix together the glue and Borax activator well.
If the slime is still very sticky, add a little bit more activator until you like the texture of the slime.
Test out the slime’s “Swirl” and “Pokes”, Cece says. See if you like them or if you need to edit your recipe by adding more glue or activator.

This DIY water slime recipe really is by trial and error. Adding some, then adding some more of the 2 ingredients until you like the feel of your slime.
Extra Slime Add-ins for the Brave Mom
If you are a brave mom who is okay with the extras, feel free to offer a buffet of add-ins for your child’s slime making day:
- glitter (don’t come for me, Mama! But Cece loves the glitter add-in.)
- food coloring
- essential oils for scent (1-2 drops, max!)
On the slime channel Cece likes to watch, they’ll add just about anything inside of a slime. I’ll be honest: I’m not sure why except for just testing and additional creativity. To me, it feels wasteful and messy. But I’m an adult who struggles with that inner child who wants to play and be messy but the adult me who says “absolutely not”, only able to think about the clean up afterwards.
Some other add-ins are, but are not limited to:
- elbow macaroni
- beads
- googly eyes
- styrofoam balls (0/10 recommended by this mama, they get EVERYWHERE!)
- confetti pieces
- paint for swirls
- rice
Slime Play Tips from a Mom who has learned the hard way:
- Allow slime play to happen on solid surfaces such as a counter top, solid floor with a plastic protection (cheap option: a large Rubbermaid container lid) or a dining table mat from the Dollar Store.
- Do not allow slime play in a carpeted space such as a bedroom or rug even if there is a plastic protector.
- Keep slime clear or white. Adding food coloring or any other coloring may stain clothes, carpets (if you skip tip 2), and hands.
- Slime play is best done outside, in my Mom opinion.
- Have a dedicated “slime shirt/clothes” to not ruin good clothes.
- Keep reading for a slime removal method.
How to remove DIY water slime:
In the very likely event slime gets onto cloth or carpet, it can be removed but it is not fun.
Due to a very blue situation on a beige carpet, this slime removal will work to remove the slime but I cannot guarantee it will remove the coloring from cloth or carpet.
2/3 white distilled vinegar
1/3 cup water
Mix in a bucket or large bowl. Grab a rag that can be disposed of later, a few paper towels, and possibly an old tooth brush. Roll up your sleeves and get ready for a tedious job that’ll have you wishing you had either made your kiddo do this outside or not ever allowed slime into your house at all! (Sorry, not sorry; but slime-idents will have Mamas regretting a lot of allowances!)
First try to get up as much of the slime by hand or butter knife as a scraper as you can. Next, apply vinegar-water mixture to the slime-affected area using the rag that has been soaked in the mixture.
Using a blotting method, use the rag to blot up the slime while picking larger bits of slime out of carpet or cloth. Wipe slime bits onto paper towel. Use the old tooth brush to help scrape fine bits of slime up as needed.
The vinegar helps eat away at the slime so continue to rinse, wring out, and liberally apply more vinegar-water mixture to the slime-affected spot until you get up all of the slime.
*I’m sure there are cleaners to get the color out of the cloth but I have not experimented with them. If you have any suggestions, comment them below!
WHY must kids love slime so good?
From my personal experience as a mom who never loved play dough much for my children and now really doesn’t love slime…
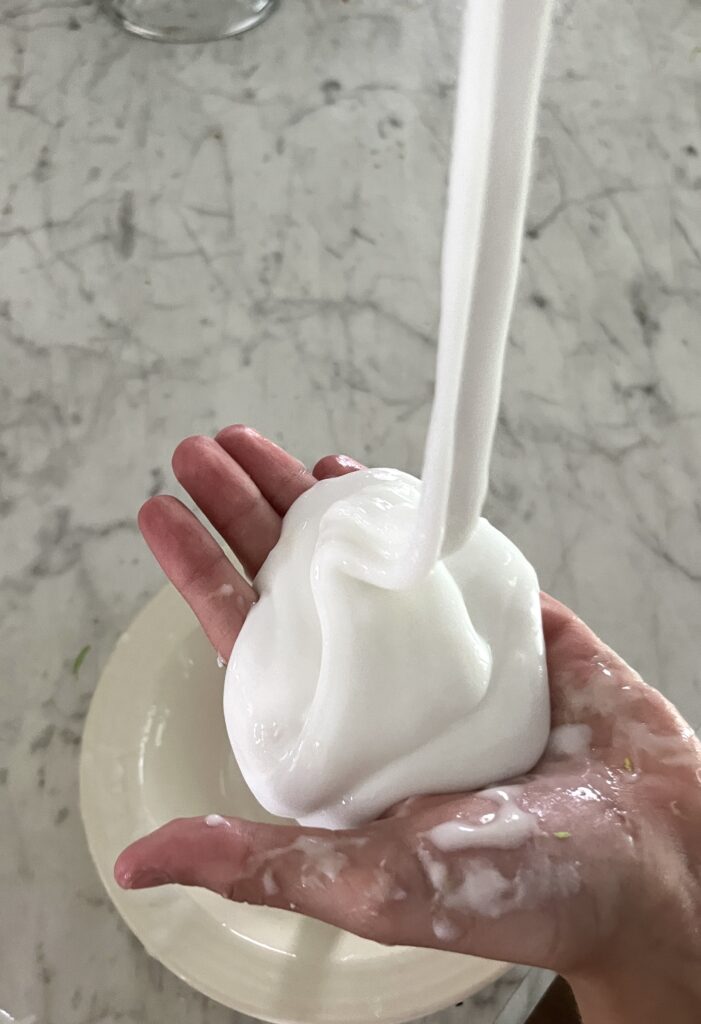
I think children love slime for a few reasons:
- It’s just cool to play with!
- That playtime is freeing, maybe cathartic.
- Allows for creativity.
- Sensory play
- Stress relief
I cannot speak for all children but I see these things listed above from my girl. In her world; the messier, the better. That life philosophy doesn’t mesh well with this Type A-ish mom who doesn’t love a mess she has to clean up usually.
Our Slime Rules are simple:
- not on the carpet or rugs and
- if you make the mess, you clean up the mess.
Bonus: Mama Tip for Slime
If you have a slime-loving child like I do, you can compromise with your child and allow there to be a 1 or 2 slime days a week. Maybe a slime hour. Whatever you need to do to keep your sanity, Mama.
I know plenty of mama’s who have banned slime and slime making from their homes and for good reason (they’re probably Type A moms too!). Your house, your rules.
Check out more kid-friendly crafts
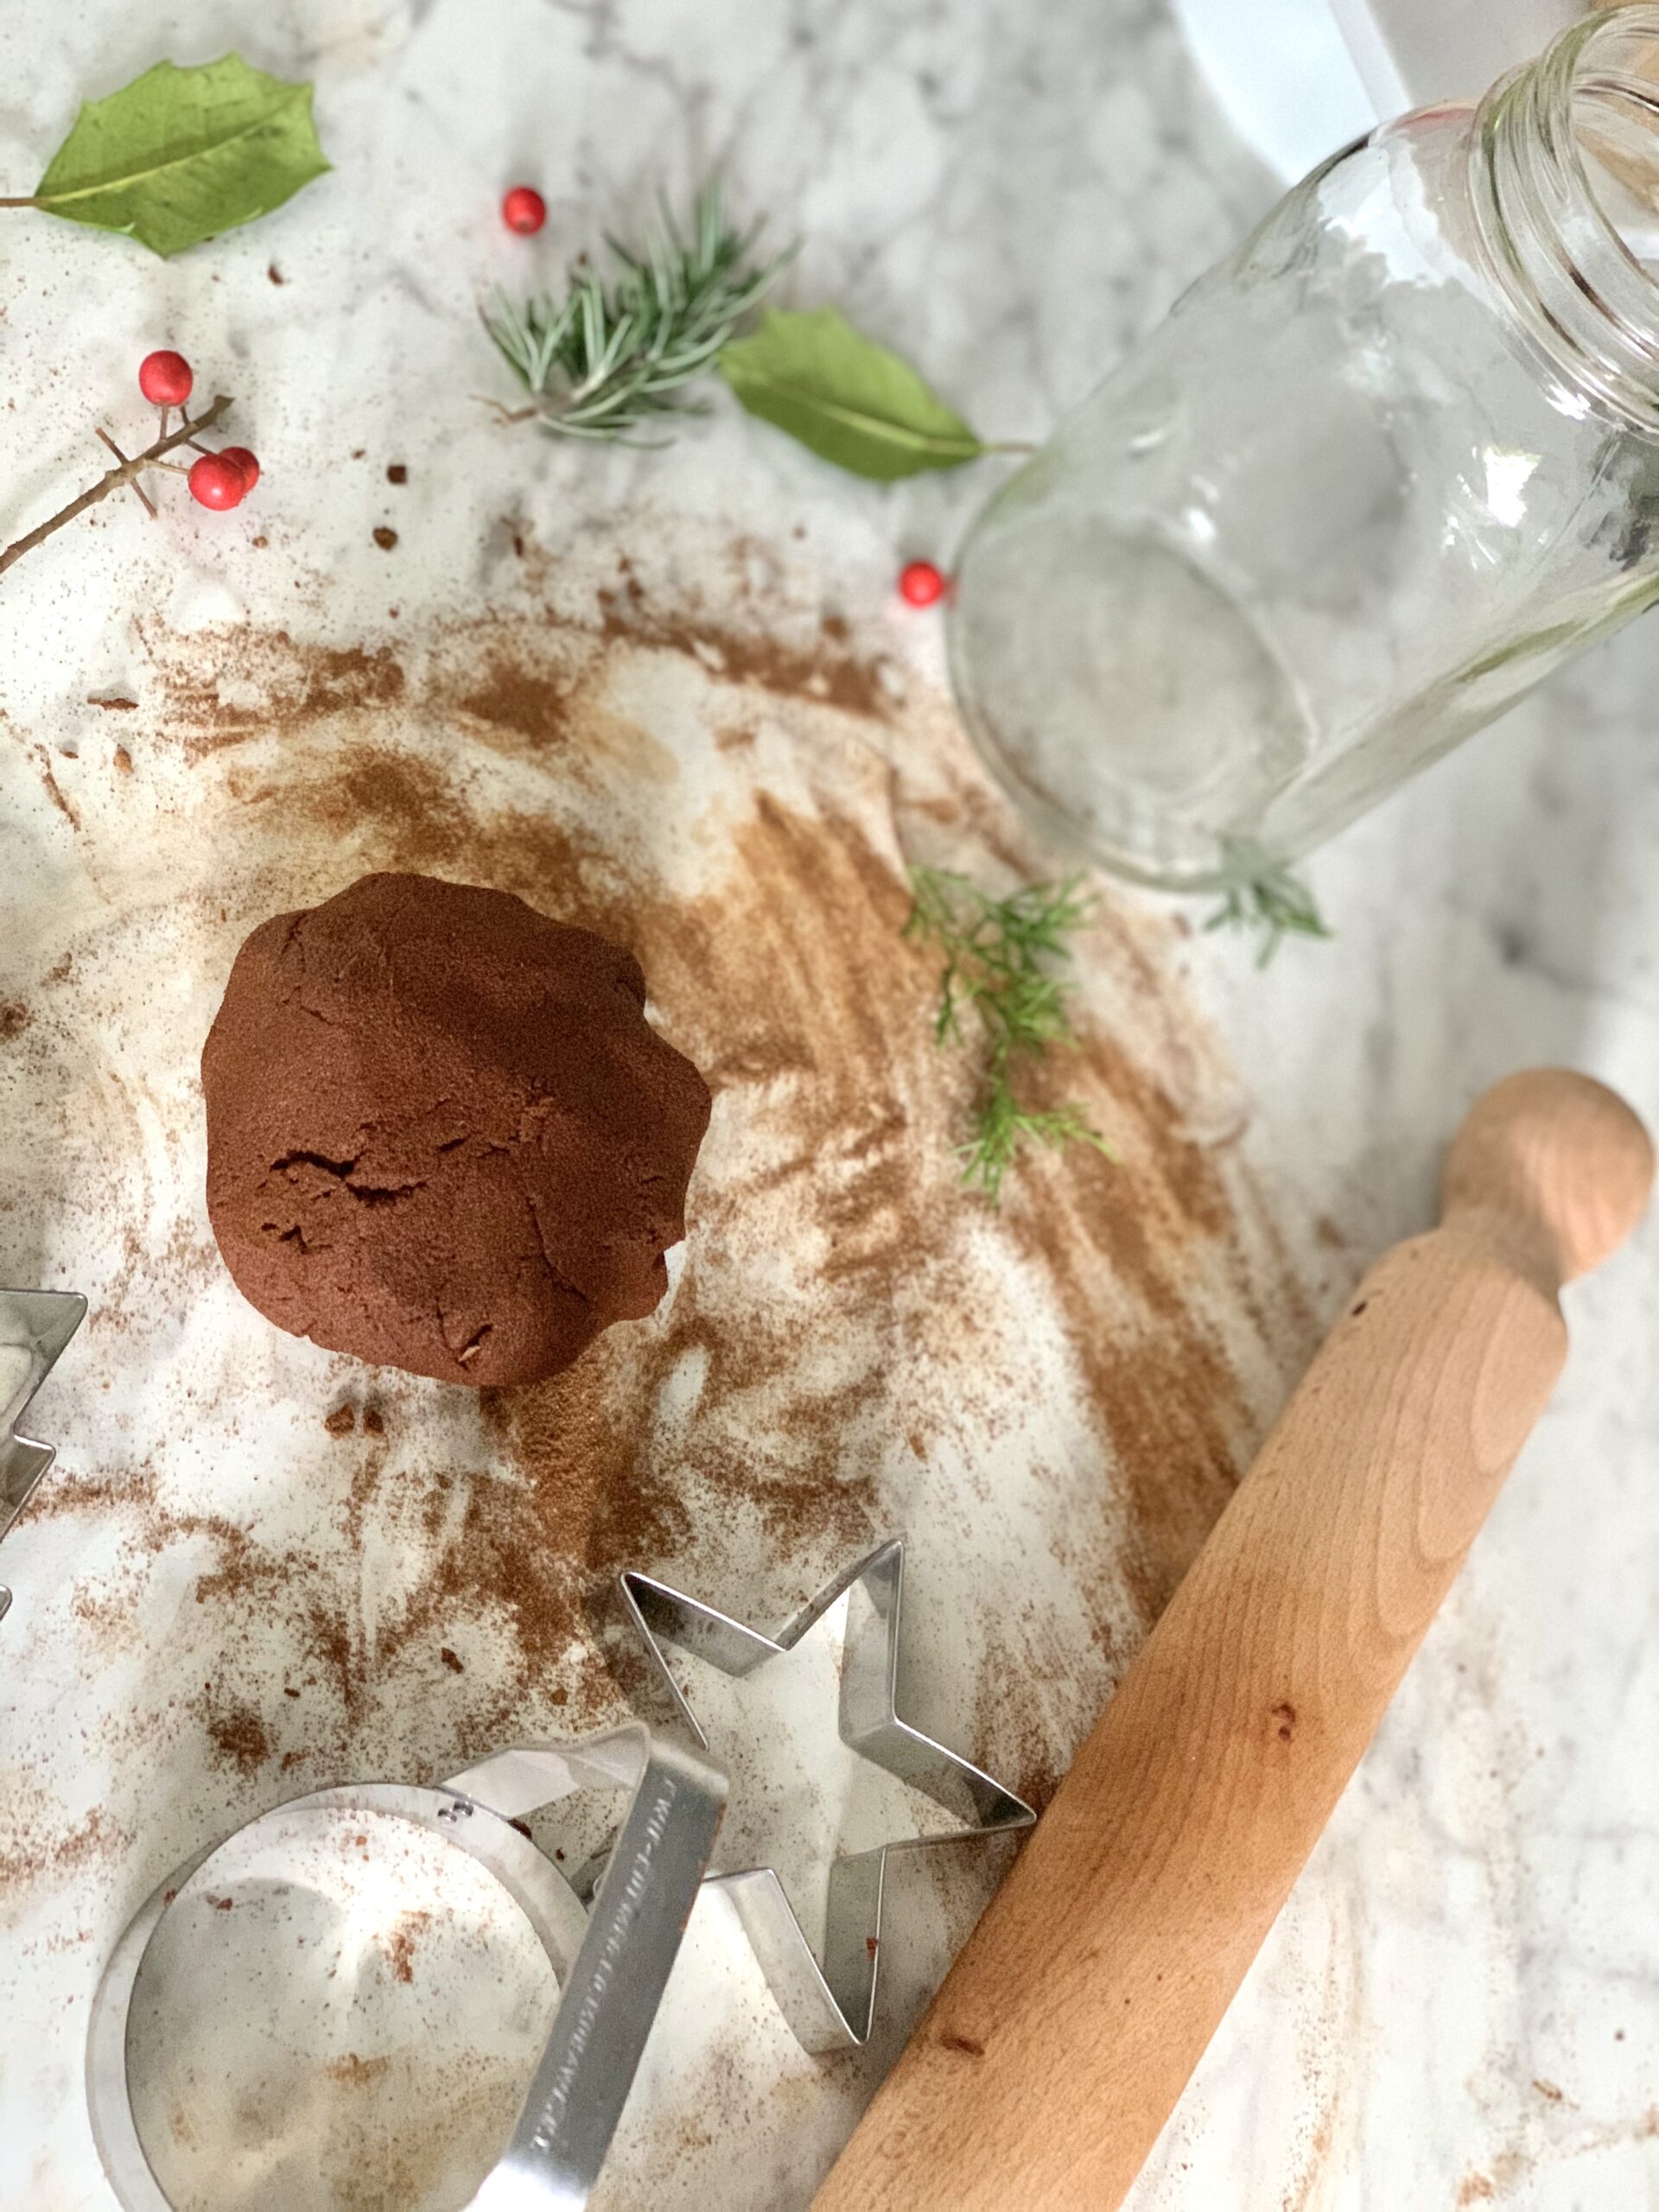
Nature-inspired cinnamon ornaments

If your child(ren) really love recipes, making, and creating, tie an apron around their waist and put them in the kitchen (with supervision, of course).
My son learned fractions by baking. Sure, he made some awful cookies and brownies in the early days but he taught himself about fractions and converting them with measuring cups, spoons, and bowls.
We are a homeschool family who believes in “Living Lessons” and applying concepts to real life as much as possible. Plus, the bonus of letting your children experience math and science in the kitchen is the sweet treats or full-on meals that can be crafted! A mess worth the clean up, to be sure.

Follow along for more
Feel free to follow Johnson Home NC on Facebook, Instagram, Pinterest, and YouTube. Pin what you like, comment here when you try something, share recipes to your socials! We are grateful for it all.
Allow me to slip into your email inbox weekly with kitchen, gardening, and chicken real time happenings from our one acre North Carolina homestead right to you by joining our email list HERE.