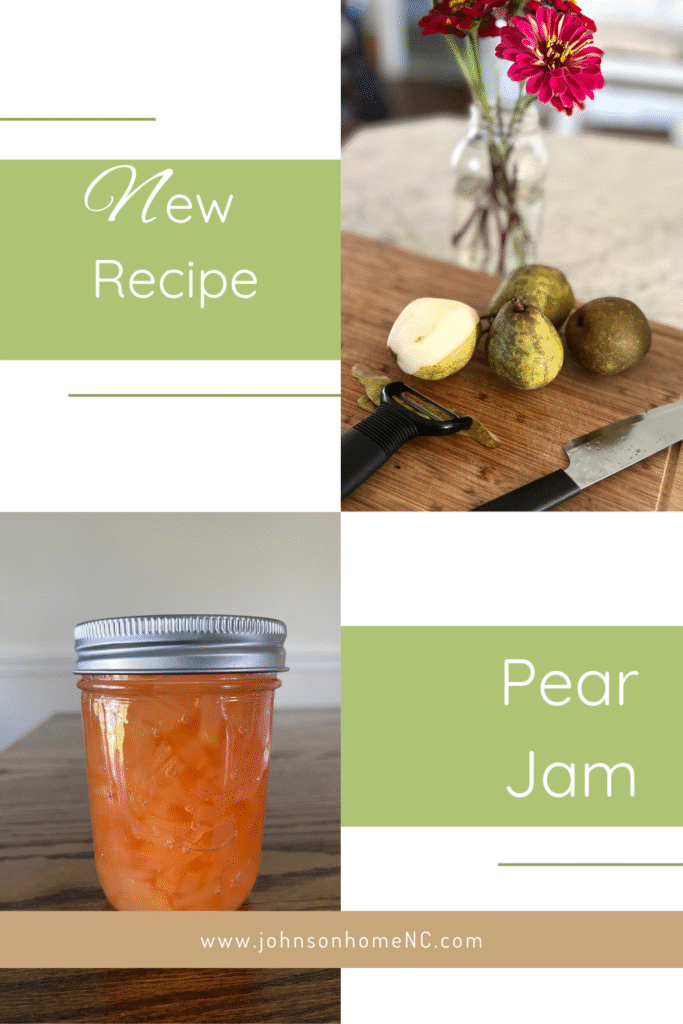
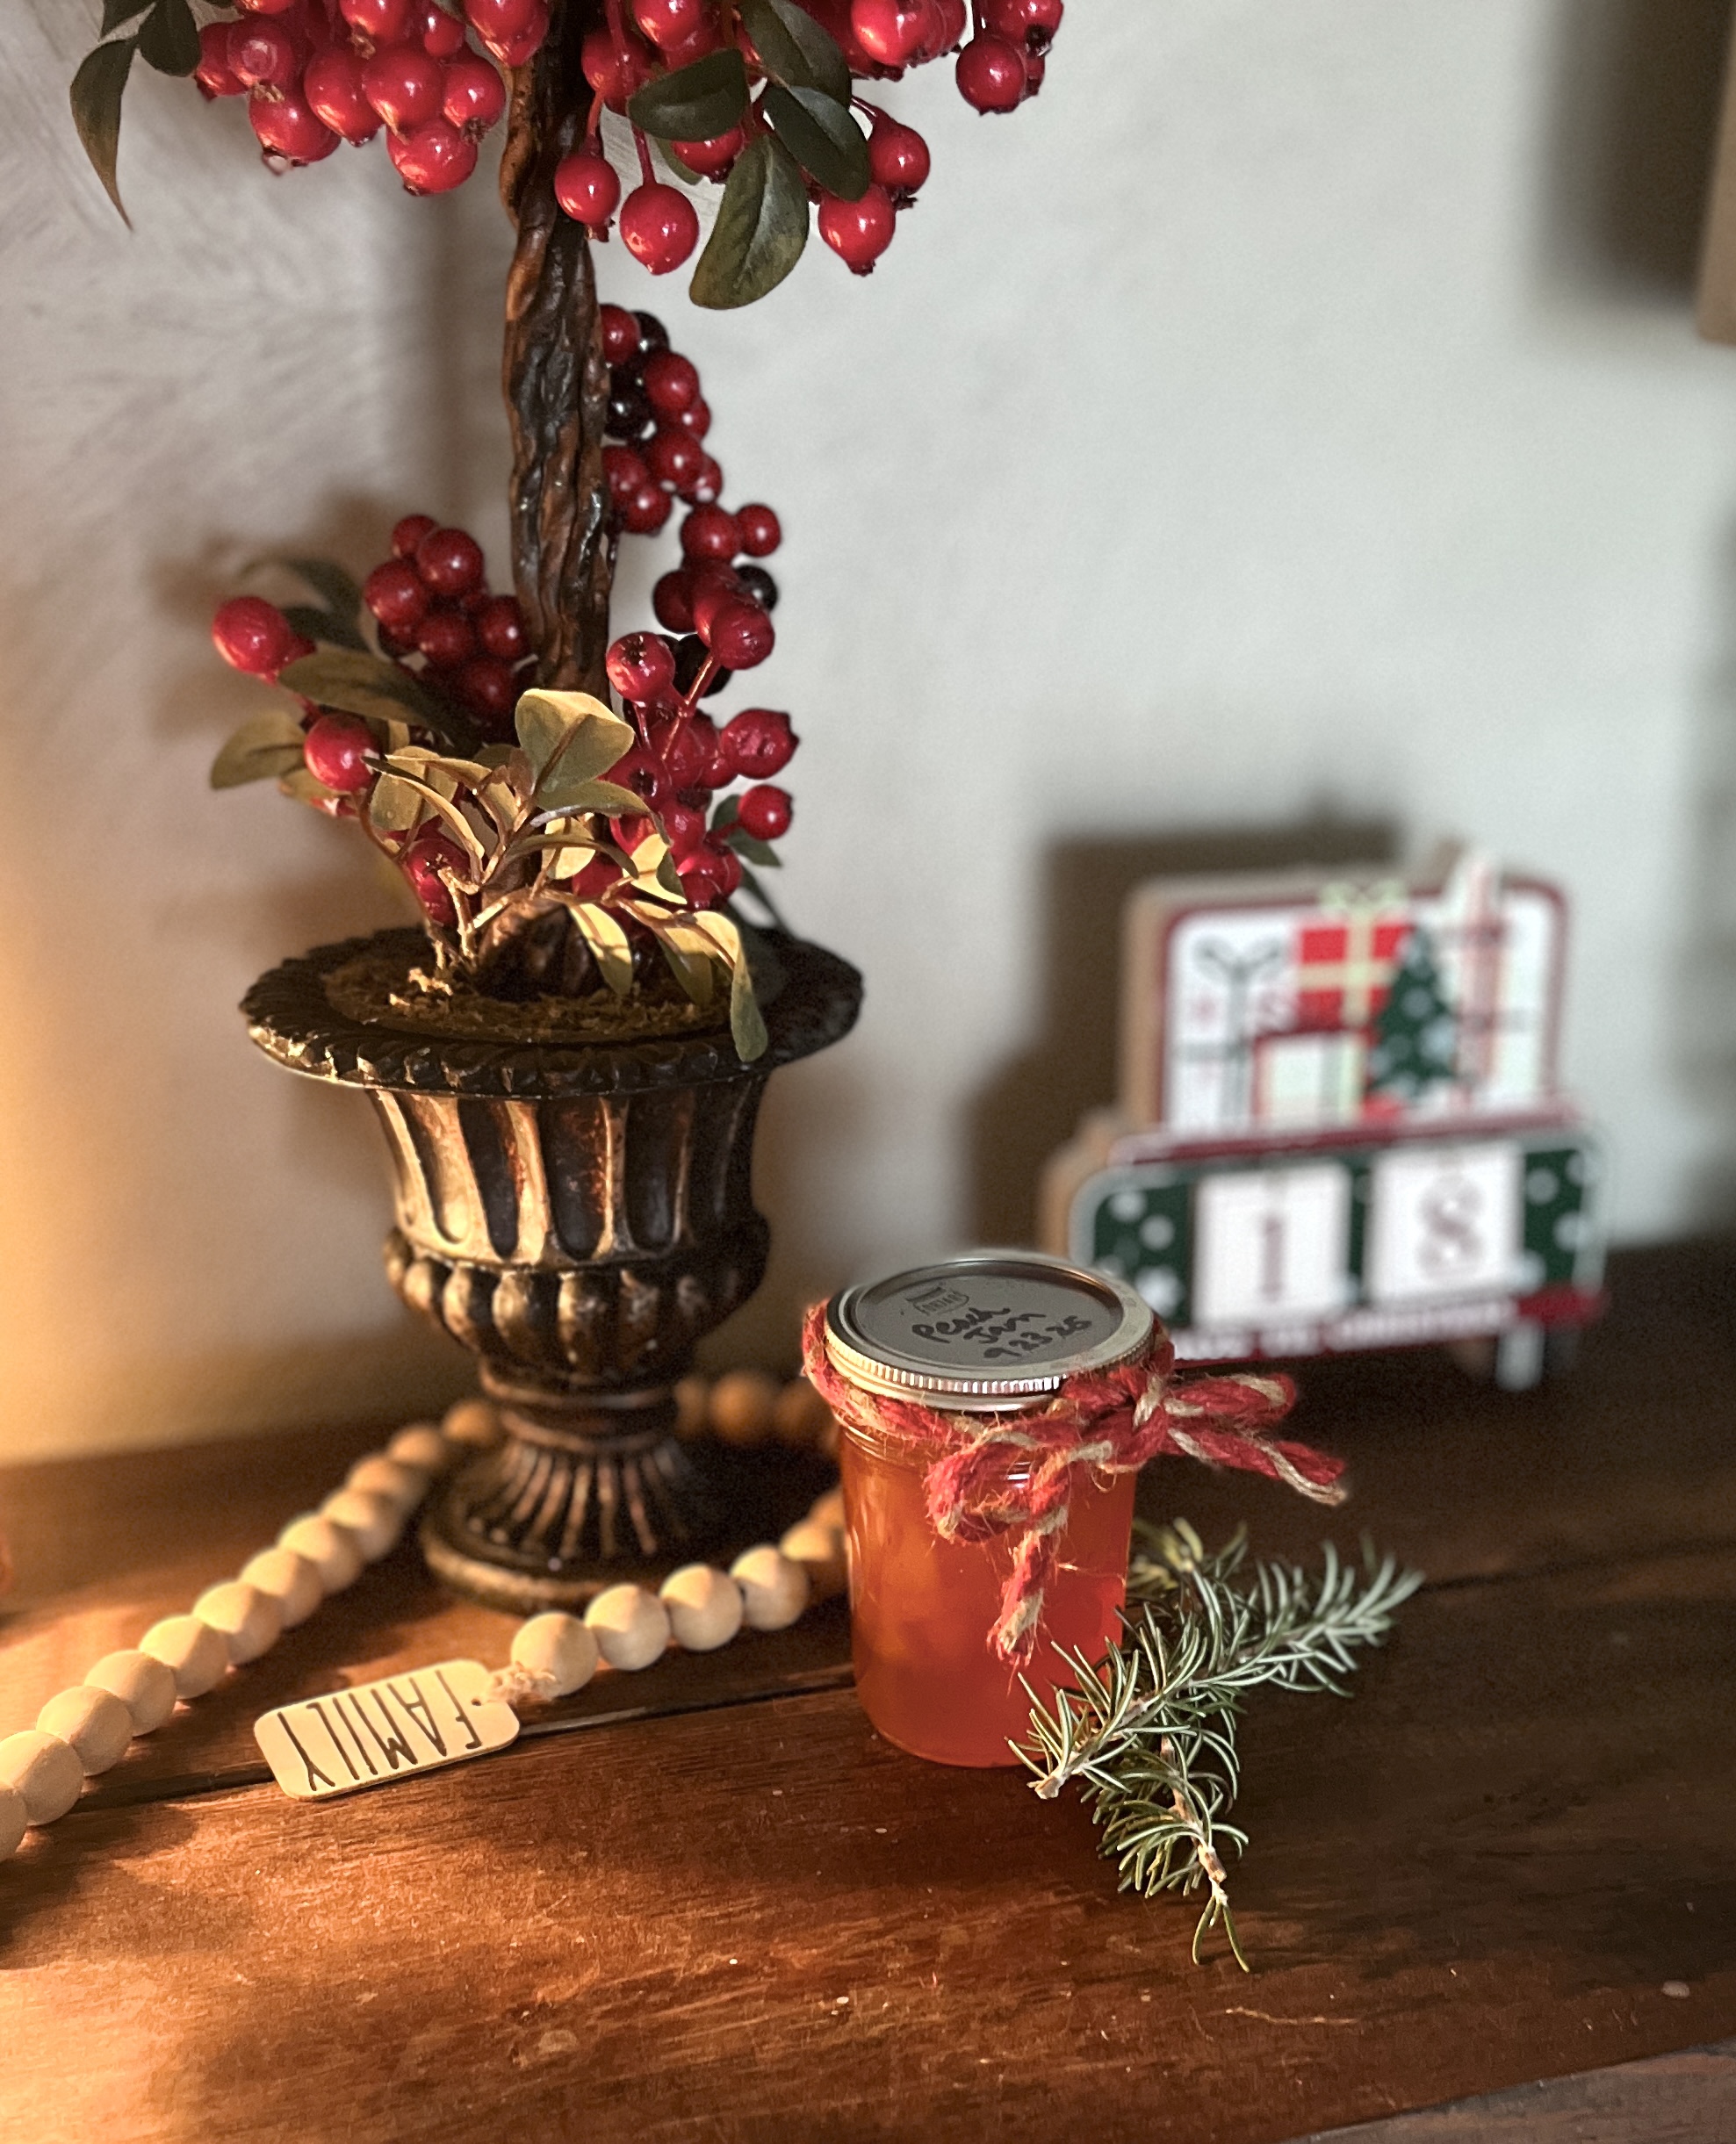
No pectin needed to make this delicious homemade pear jam. Just pears, sugar, lemon juice, and some stirring time. Enjoy this tasty treat from the fall treats your pear trees offer each year.
Be sure to grab your free printable label for pear jam at the bottom of this recipe.

This post contains affiliate links, which means I make a small commission at no extra cost to you. Always shop small, local, and/or direct when you can, though!
Ingredients
- pears– any breed of pear, I like Bartlett and Anjou pears best
- sugar– probably can substitute honey but I have no experience and the heat will kill all good honey attributes anyway
- lemon juice– cuts the sweetness down some, reduces browning of fruit, and helps make jam shelf stable
How to make pear jam
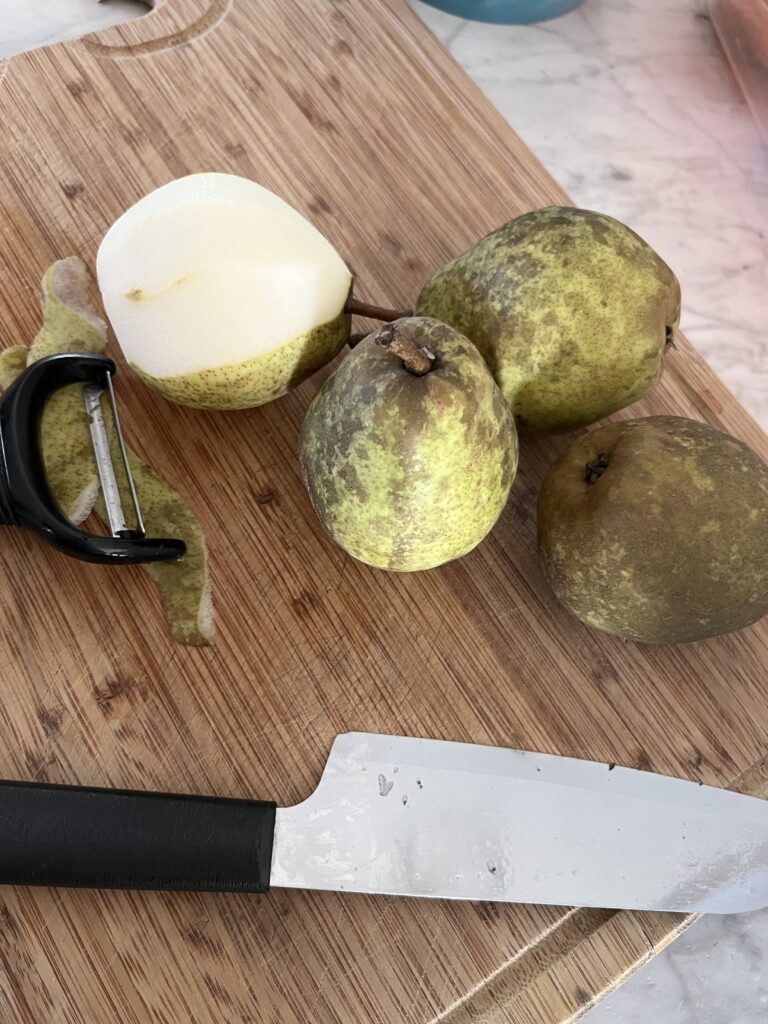
Start by selecting the pears. Choose the largest ones you can find as this makes peeling much easier, should you choose to peel the pears (see below on to peel or not to peel). Generally for this recipe of 8 cups of diced pears, it can take about 12 pears, give or take.
Use a potato peeler to peel pears if choosing to peel. Cut the pear in half length-wise then cut out the core and stem to feed your chickens or compost.
Dice pears into small chunks and add to the mixing bowl.
Now add the lemon juice and use a mixing spoon to coat pears in juice. Juice may be added to the mixing bowl at the start and using the spoon to mix every time you add another diced pear to the bowl helps to coat evenly each pear with lemon juice. This helps prevent browning which doesn’t matter to this recipe but is a bit unsightly for some.
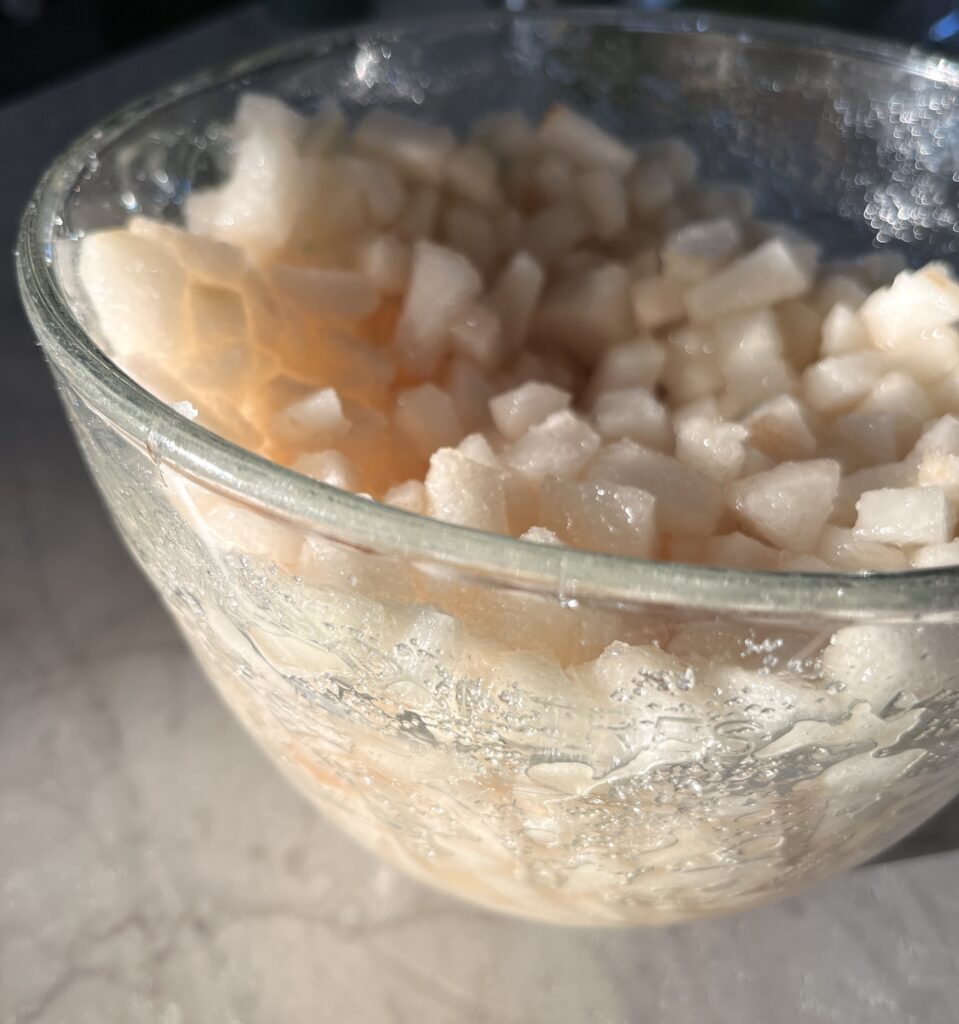
If mixing bowl is too full, pour contents into a larger bowl and add sugar. Using spoon, mix the pears, sugar, and lemon juice mixture well to incorporate all pears.
Next, put the covered bowl in the refrigerator to macerate for at least 8 hours, best if overnight.
The next day, take the bowl from the fridge and dump into a large stock or sauce pot on medium-high heat, stirring very often. This mixture will need to be stirred for about 45 minutes. You will notice the liquid ring around the pot reduce by almost half during this time. The mixture is becoming a syrup.
Test jam for readiness
To test if the jam is ready to be jarred, you can do the plate test.
This means storing a small serving plate in the freezer for at least 10 minutes while you are just beginning to stir. When you believe the jam is ready, remove the plate from the freezer and add half a spoonful of jam to the plate. Place the plate back into the freezer for 1 minute. After this time, turn the plate sideways so the jam can run down the plate vertically. Swipe your finger through the jam. If the swiped area remains, your jam is ready. If the jam runs into the swiped area at a fast pace, you will need to stir it for about 5 more minutes, then repeat test.
Once jam is ready, water bath it!
Once the jam is as ready as you want it, it is time to jar it.
This recipe makes 4-5 half pints of pear jam.
Get your largest stock/soup pot or pressure canner ready. If you use a traditional canner, add water to appropriate water bath fill line and begin heating the water on the stovetop. If using the Presto Digital Pressure Canner, use the quick start guide for instructions to water bath the pear jam.

Prepare jars, lids and rings
Jars– place 5 clean half pint jars in oven at 235 degrees for 15 minutes to sanitize. Jars may stay in the oven until you need each one.
Lids and rings– place washed lids and rings into a very warm/hot water bath of a small pot filled with water.
Fill the jars with pear jam
Carefully remove one jar at a time from the oven to fill with pear jam leaving a 1/4 inch headspace. Using a stainless steel funnel is so helpful at reducing mess (linked a great canning kit below).
Wipe the rim with a wet paper towel or clean dish cloth. Alternatively, soak an end of the cloth with distilled white vinegar to act as a sanitizer to wipe the rim.
Carefully get a lid and ring out of the hot water and add to the jar, tightening to finger-tip tightness.

If there is not enough jam to fill the last jar, lid/ring it and allow it to cool on its own before storing that jar in the refrigerator to be eaten first.
Water bath process pear jam
Place jars in the canner (or large pot) and make sure all jars are covered by 1 inch of water. Then allow the water to return to boiling.
Once water is boiling rapidly again, set timer for 10 minutes to water bath process pear jam.
After 10 minutes, turn off the stovetop and carefully remove each jar. Place each jar of pear jam spaced 1 inch a part on a kitchen towel in a place out of the way as not to be disturbed for 12-24 hours. Drape another kitchen towel over the jars to rest. This allows the jars to cool slowly.
Test each jar after at least 12 hours to make sure they are sealed. The round button in the middle of the lid will be sunken down.
Date and label contents of each jar and store away for later. Jam is “best when used within 1 year” but I say “your kitchen, your rules using discernment”.
FREE Pear Jam Printable Label
Enjoy this FREE printable label for your pear jam. Click the button below to see all the FREE Johnson Home Printables:

Do you peel pears before making pear jam?
While you do not have to peel the pears before making jam, peeling the pears makes for a much smoother jam texture.
With that said, in this pear jam recipe, it’s thicker anyway. More of a pear preserve but still pairs well (pun intended) with sourdough toast and homemade butter.
Feel free to use an immersion blender after pears are cooked down to create a spreadable jam.
If a more rustic look is your vibe, keep some skins on for the countrified aesthetic you desire in your mason jars. Be sure to top with a square of gingham cloth tied on with twine for the ultimate old fashioned cottage core look.
Do pears contain natural pectin?
Yes, pears contain natural pectin and boxed pectin is absolutely unnecessary in this recipe. Just a little extra time and patience to stir it until it jams nicely for you without any added preservatives or ingredients.
Firm pears have more pectin whereas more ripe and softer pears do not have as much pectin but enough is still present.
Which pears are best for pear jam?
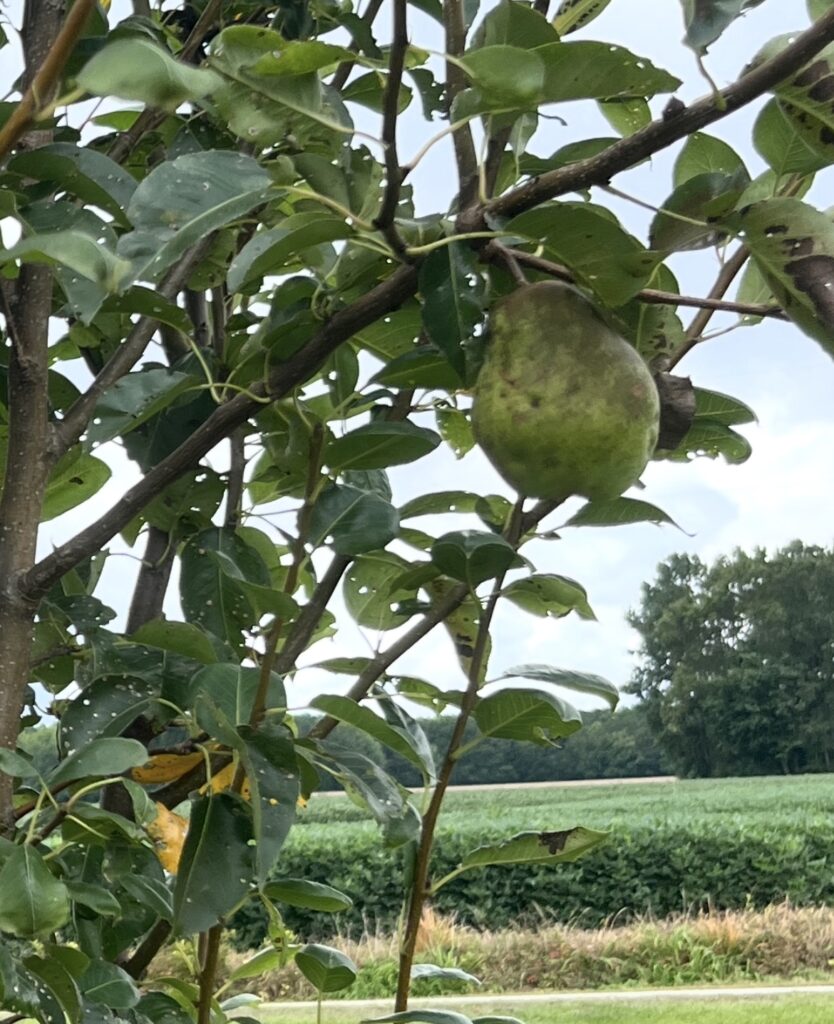
In my own experience, Bartlett and Anjou pears work wonderfully.
These are the only two pear varieties I have used to make both this pear jam as well as pear sauce.
More recipes like this
SHOP THIS POST

Presto Digital Pressure Canner
Jar and lid lifter + headspace measurer kit– stainless steel and everything a beginning canner could need!
Stock Pot– great for large batches of soup and water bath canning too
Follow Along for More from Johnson Home
If you liked what you read here, feel free to follow Johnson Home NC on Facebook, Instagram, Pinterest, and YouTube.
I’d adore it if you posted a photo or video of your pear jam creation and tagged Johnson Home NC!
Allow me to slip into your email inbox weekly with kitchen, gardening, and chicken raising real time happenings from our one acre North Carolina homestead right to you by joining our email list HERE.


Pear Jam
Ingredients
Equipment
Method
- Use a potato peeler to peel pears if choosing to peel. Cut the pear in half length-wise then cut out the core and stem.
- Dice pears into small chunks and add to the mixing bowl.
- Add the lemon juice and use a mixing spoon to coat pears in juice.
- If mixing bowl is too full, pour contents into a larger bowl and add sugar. Using spoon, mix the pears, sugar, and lemon juice mixture well to incorporate all pears.
- Next, put the bowl in the refrigerator, covered, to macerate for at least 8 hours, best if overnight.
- The next day, take the bowl from the fridge and dump into a large stock or sauce pot on medium-high heat, stirring very often. This mixture will need to be stirred for about 45 minutes. You will notice the liquid ring around the pot reduce by almost half during this time. The mixture is becoming a syrup.
- To test if the jam is ready to be jarred, you can do the plate test. This means storing a small serving plate in the freezer for at least 10 minutes while you are just beginning to stir. When you believe the jam is ready, remove the plate from the freezer and add half a spoonful of jam to the plate. Place the plate back into the freezer for 1 minute. After this time, turn the plate sideways so the jam can run down the plate vertically. Swipe your finger through the jam. If the swiped area remains, your jam is ready. If the jam runs into the swiped area, you will need to stir it for about 5 more minutes then repeat test.
- Get your largest stock/soup pot or pressure canner ready with water.
- Jars- place 5 clean pint jars in oven at 235 degrees for 15 minutes to sanitize. Jars may stay in the oven until you need each one.
- Lids and rings- place washed lids and rings into a very warm/hot water bath of a small pot filled with water.
- Carefully remove one jar at a time from the oven to fill with pear jam leaving a 1/4 inch headspace.
- Wipe the rim with a wet paper towel or clean dish cloth.
- Carefully get a lid and ring out of the hot water and add to the jar, tightening to finger-tip tightness.
- Place jars in the canner (or large pot) and make sure all jars are covered by 1 inch of water. Then allow the water temperature to return to boiling.
- Once water is boiling rapidly again, set timer for 10 minutes to water bath process pear jam.
- After 10 minutes, turn off the stovetop and carefully remove each jar. Place each jar of pear jam spaced 1 inch a part on a kitchen towel in a place out of the way as not to be disturbed for 12-24 hours. Drape another kitchen towel over the jars to rest.
- Test each jar after at least 12 hours to make sure they are sealed.
- Date and label contents of each jar and store away for later.
Notes
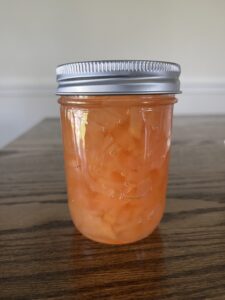
Pin this for pear season!