Do you like fall decor that’s a little less “halloween” and more naturally autumn instead? Me too! Autumn leaves seeing, pumpkin patch visiting, chilly weather cardigan wearing, and soup bowl carrying behaviors make decorating your home an August through September MUST DO. In this post, I’ll show you a super easy (and cheap!) way to make a DIY stackable pumpkins decoration for your home’s fall attire.
Jump to RecipeI made the how-to into a quick recipe for you to Jump To and print and also there’s a short video attached below as well.
This post contains affiliate links, which means I make a small commission at no extra cost to you. I will always encourage shopping local, small, and direct FIRST. Johnson Home NC is a participant in the Amazon Services LLC Associates Program, an affiliate advertising program designed to provide a means for sites to earn advertising fees by advertising and links to Amazon.com. As part of this Amazon Associates program, the Website will post customized links, provided by Amazon, to track the referrals to their website. And I thank you for using these links!

Dollar Store Finds
Run, don’t walk to your local dollar store to find a little netted bag of fabric covered or plastic pumpkins (or both like I did here) for $1.25.
Get your glue gun hot and get ready to make the easiest and cutest DIY stackable pumpkin decor ever.
At this price and quickness, I’m willing to bet you’ll make more than one!
What do I need to make DIY stackable pumpkin decor?
- glue gun
- glue sticks
- 3-4 assorted sizes small pumpkins (check your local dollar stores and Wal-Mart)
How to make DIY stackable pumpkins
First, find 3 or 4 pumpkins of all different sizes but pretty close to the same size. Place them in order from smallest on the left to largest on the right.
Then take all except your smallest pumpkin and gently pull off the stem. You may need to cut it off but do make sure where the stem was is flat.
Next, take the largest and the next biggest pumpkin and use your hot and ready glue gun to put glue on the largest pumpkin’s missing stem area.
Then take the next largest pumpkin and press its bottom firmly down on top of the glue on the largest pumpkin. Hold the two pumpkins together for a few seconds to make sure the glue dries.
Repeat this step above for your next pumpkins until the smallest pumpkin with its stem still intact is the last pumpkin on the stack, on top.
Watch this short video on how-to make your DIY Stackable Pumpkins in 30 seconds for only $1.25:
Give my YouTube channel a subscribe if you haven’t already! Thank you so much.
That’s it and that’s all
You’re all done!
Now go put your adorable DIY stackable pumpkins decor somewhere in your home where it fits perfectly. I adore this precious set up on my mantle above our gas lit fire place.
And don’t forget this season is the time for all the pumpkin, cinnamon, spice, and woodsy scents to fill your home with fragrance!
Choose more natural ways of scenting your home with diffusers and true essential oils or if you’re a little more okay with it, light some scented candles to really set the tone for the season.

More easy and affordable DIY Homemade Craft Ideas for Fall and Winter home decor
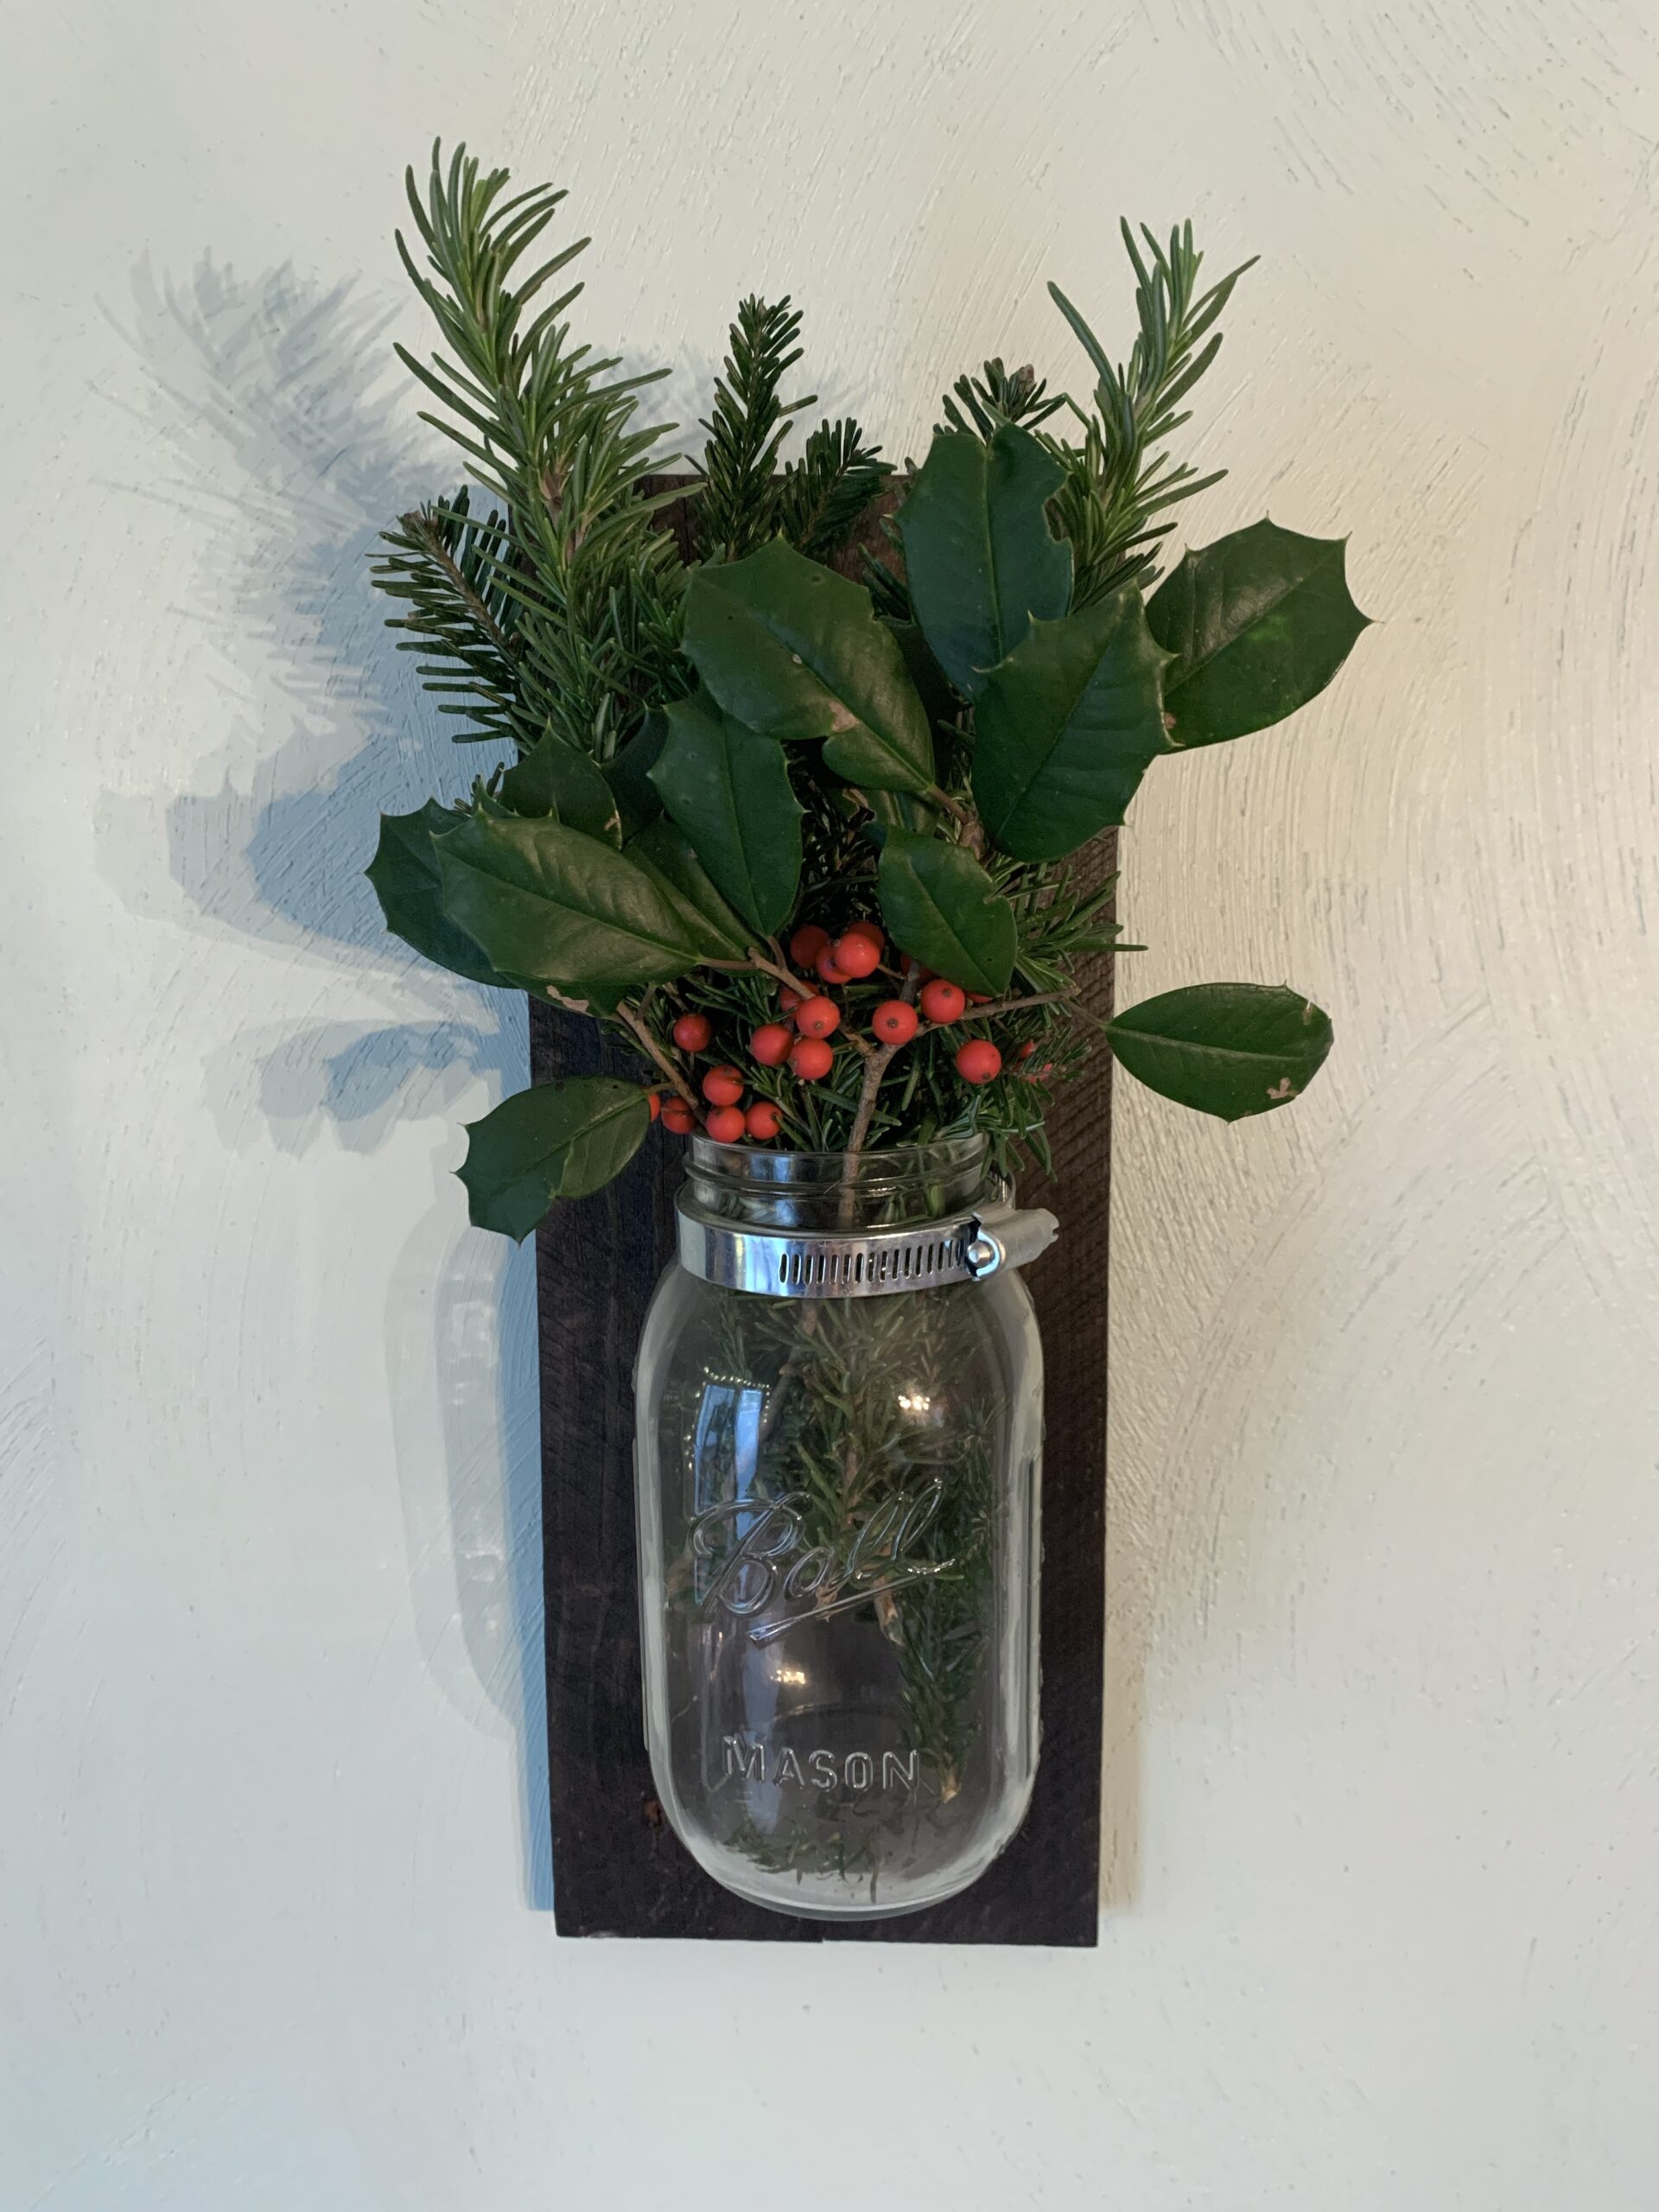
DIY Natural Winter Decor (free!)
As winter nears, the leaves die and fall to the ground exposing the evergreens of the woods. Cypress, holly, pine, spruce, fir, cedar, mistletoe, magnolia leaves, even rosemary, the herb, are all lusciously green while the rest are sleeping off the cold. Grab some clippers and take advantage of what nature has to offer for DIY Christmas decorations for free!
Read the how-to here: DIY Natural Winter and Christmas Decor

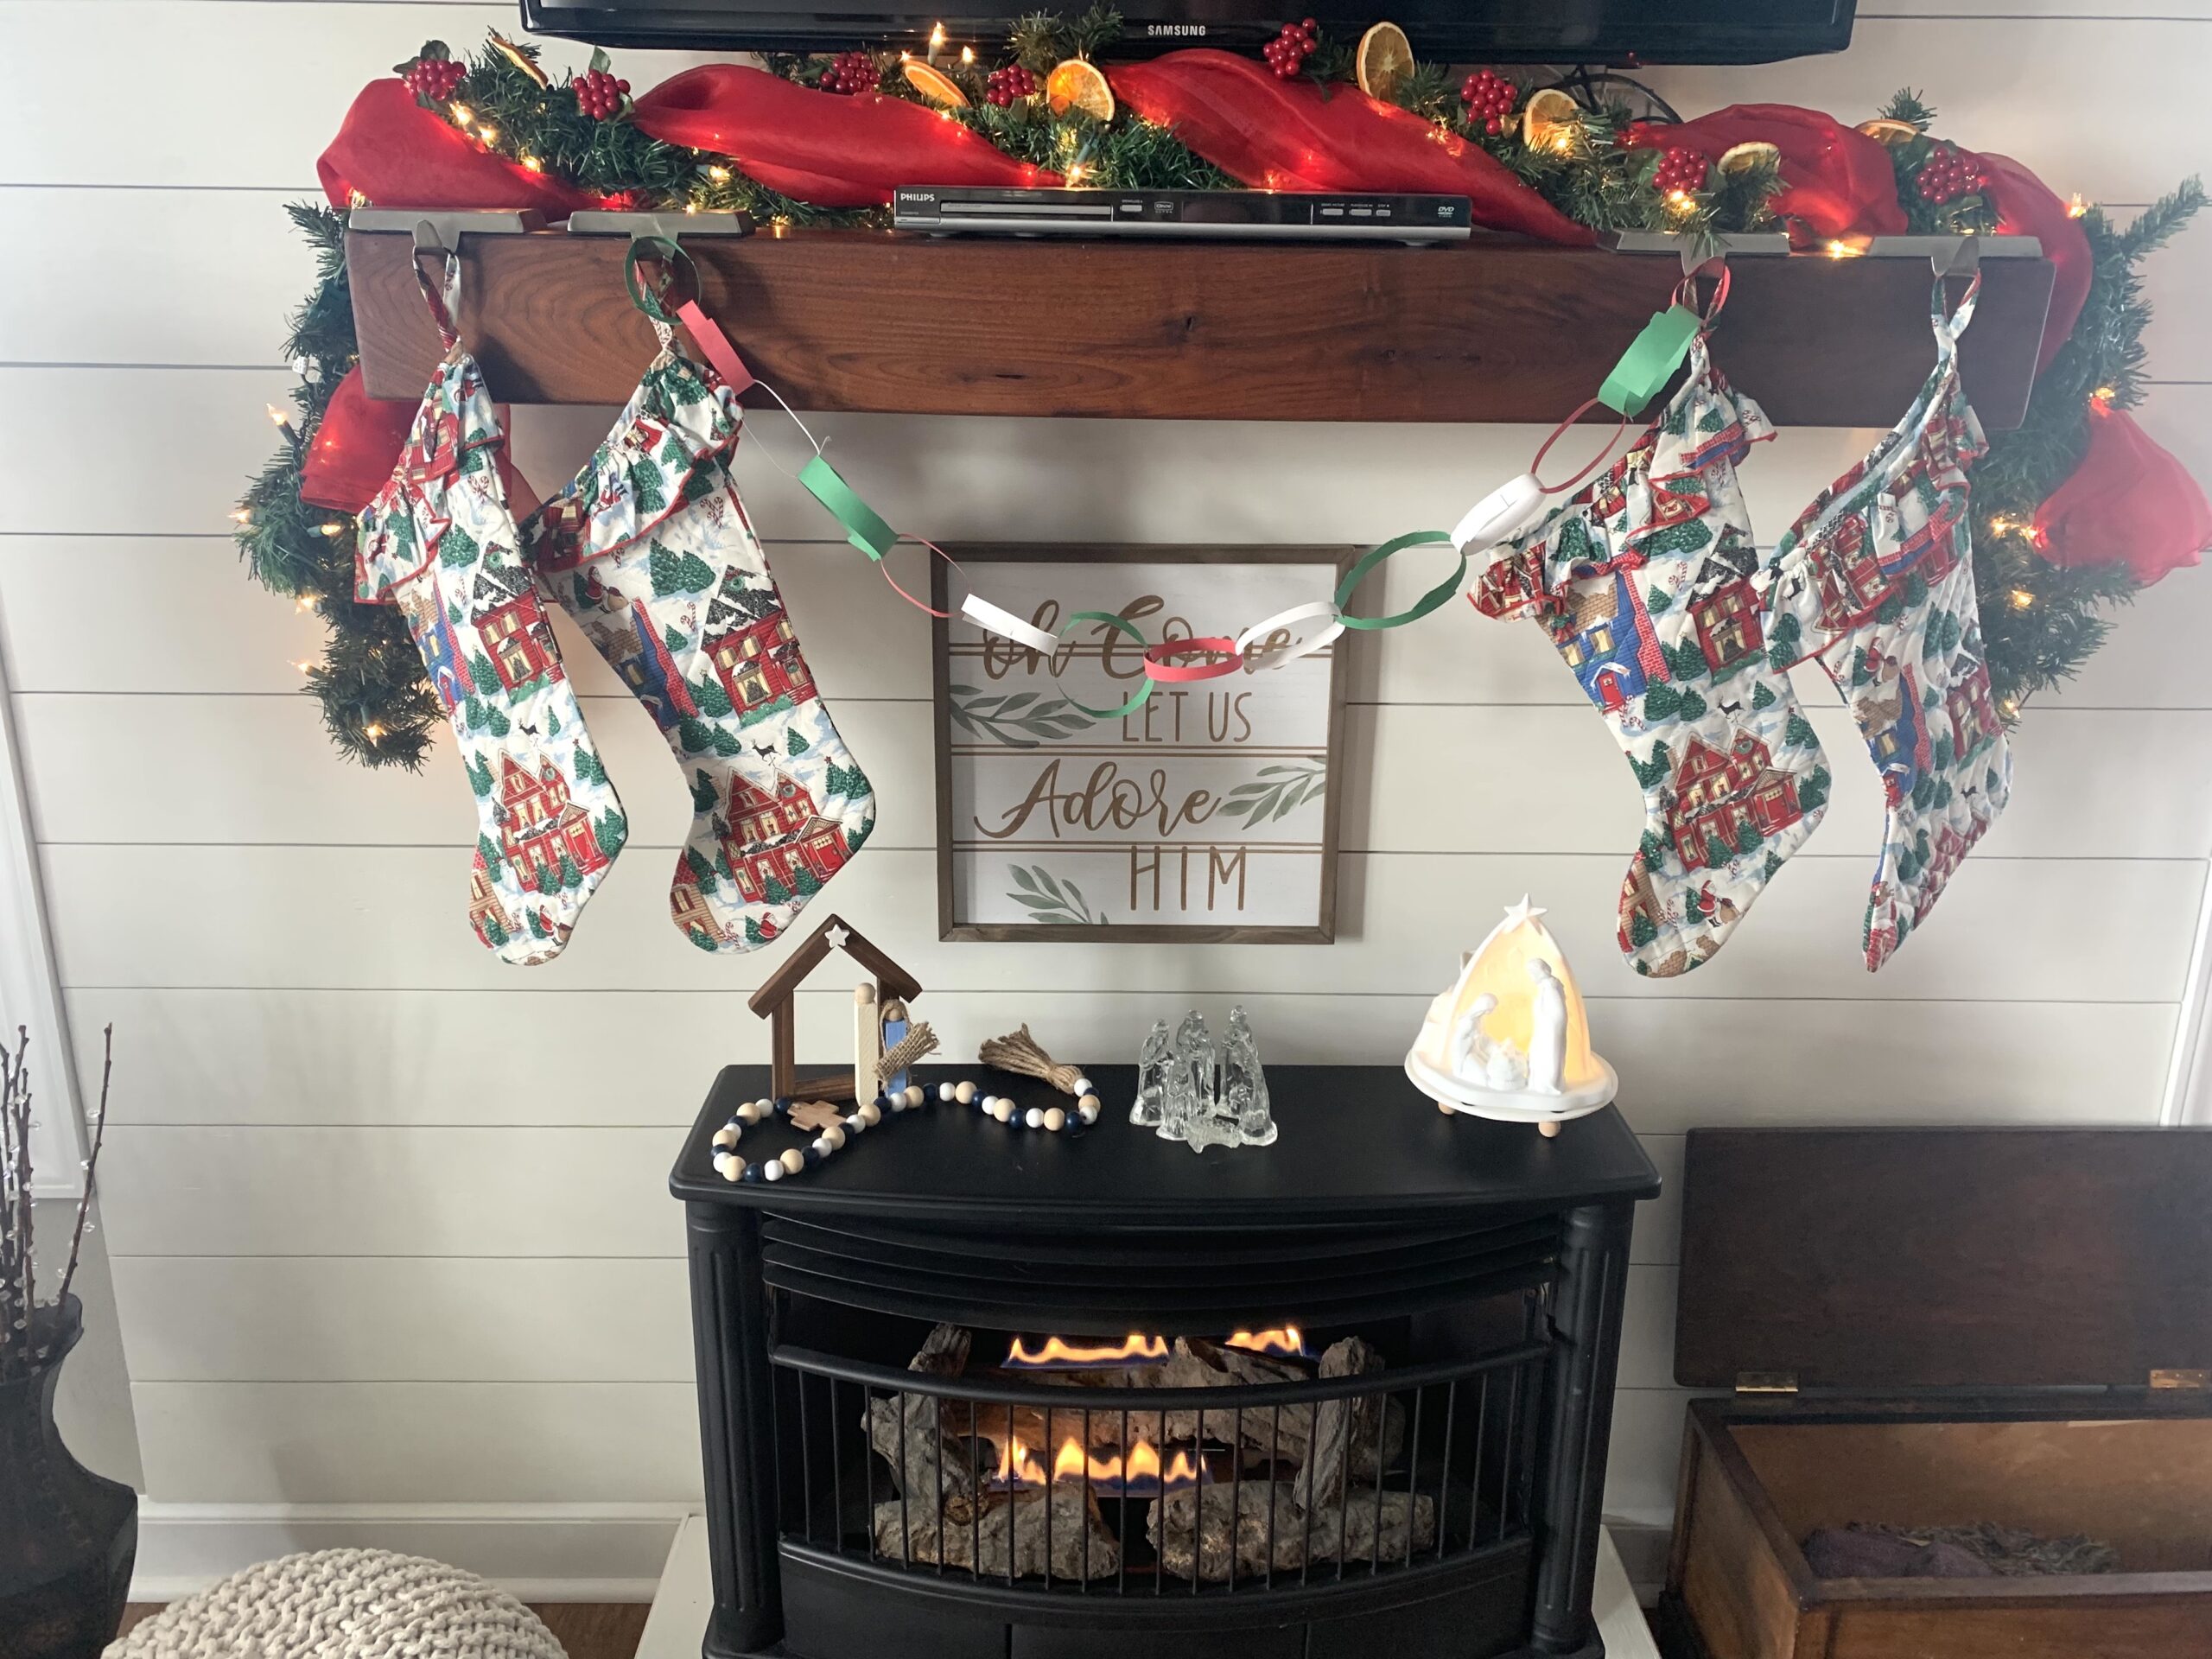
Dehydrated Oranges to Spruce Up Your Holiday Decor
In a world full of plastics that break, crack, crumble and need replacing all too soon, this year you can choose to spruce up some of your holiday decorations with a simple, natural element: oranges.
Read on to find out how to use dehydrated oranges in your home decor.

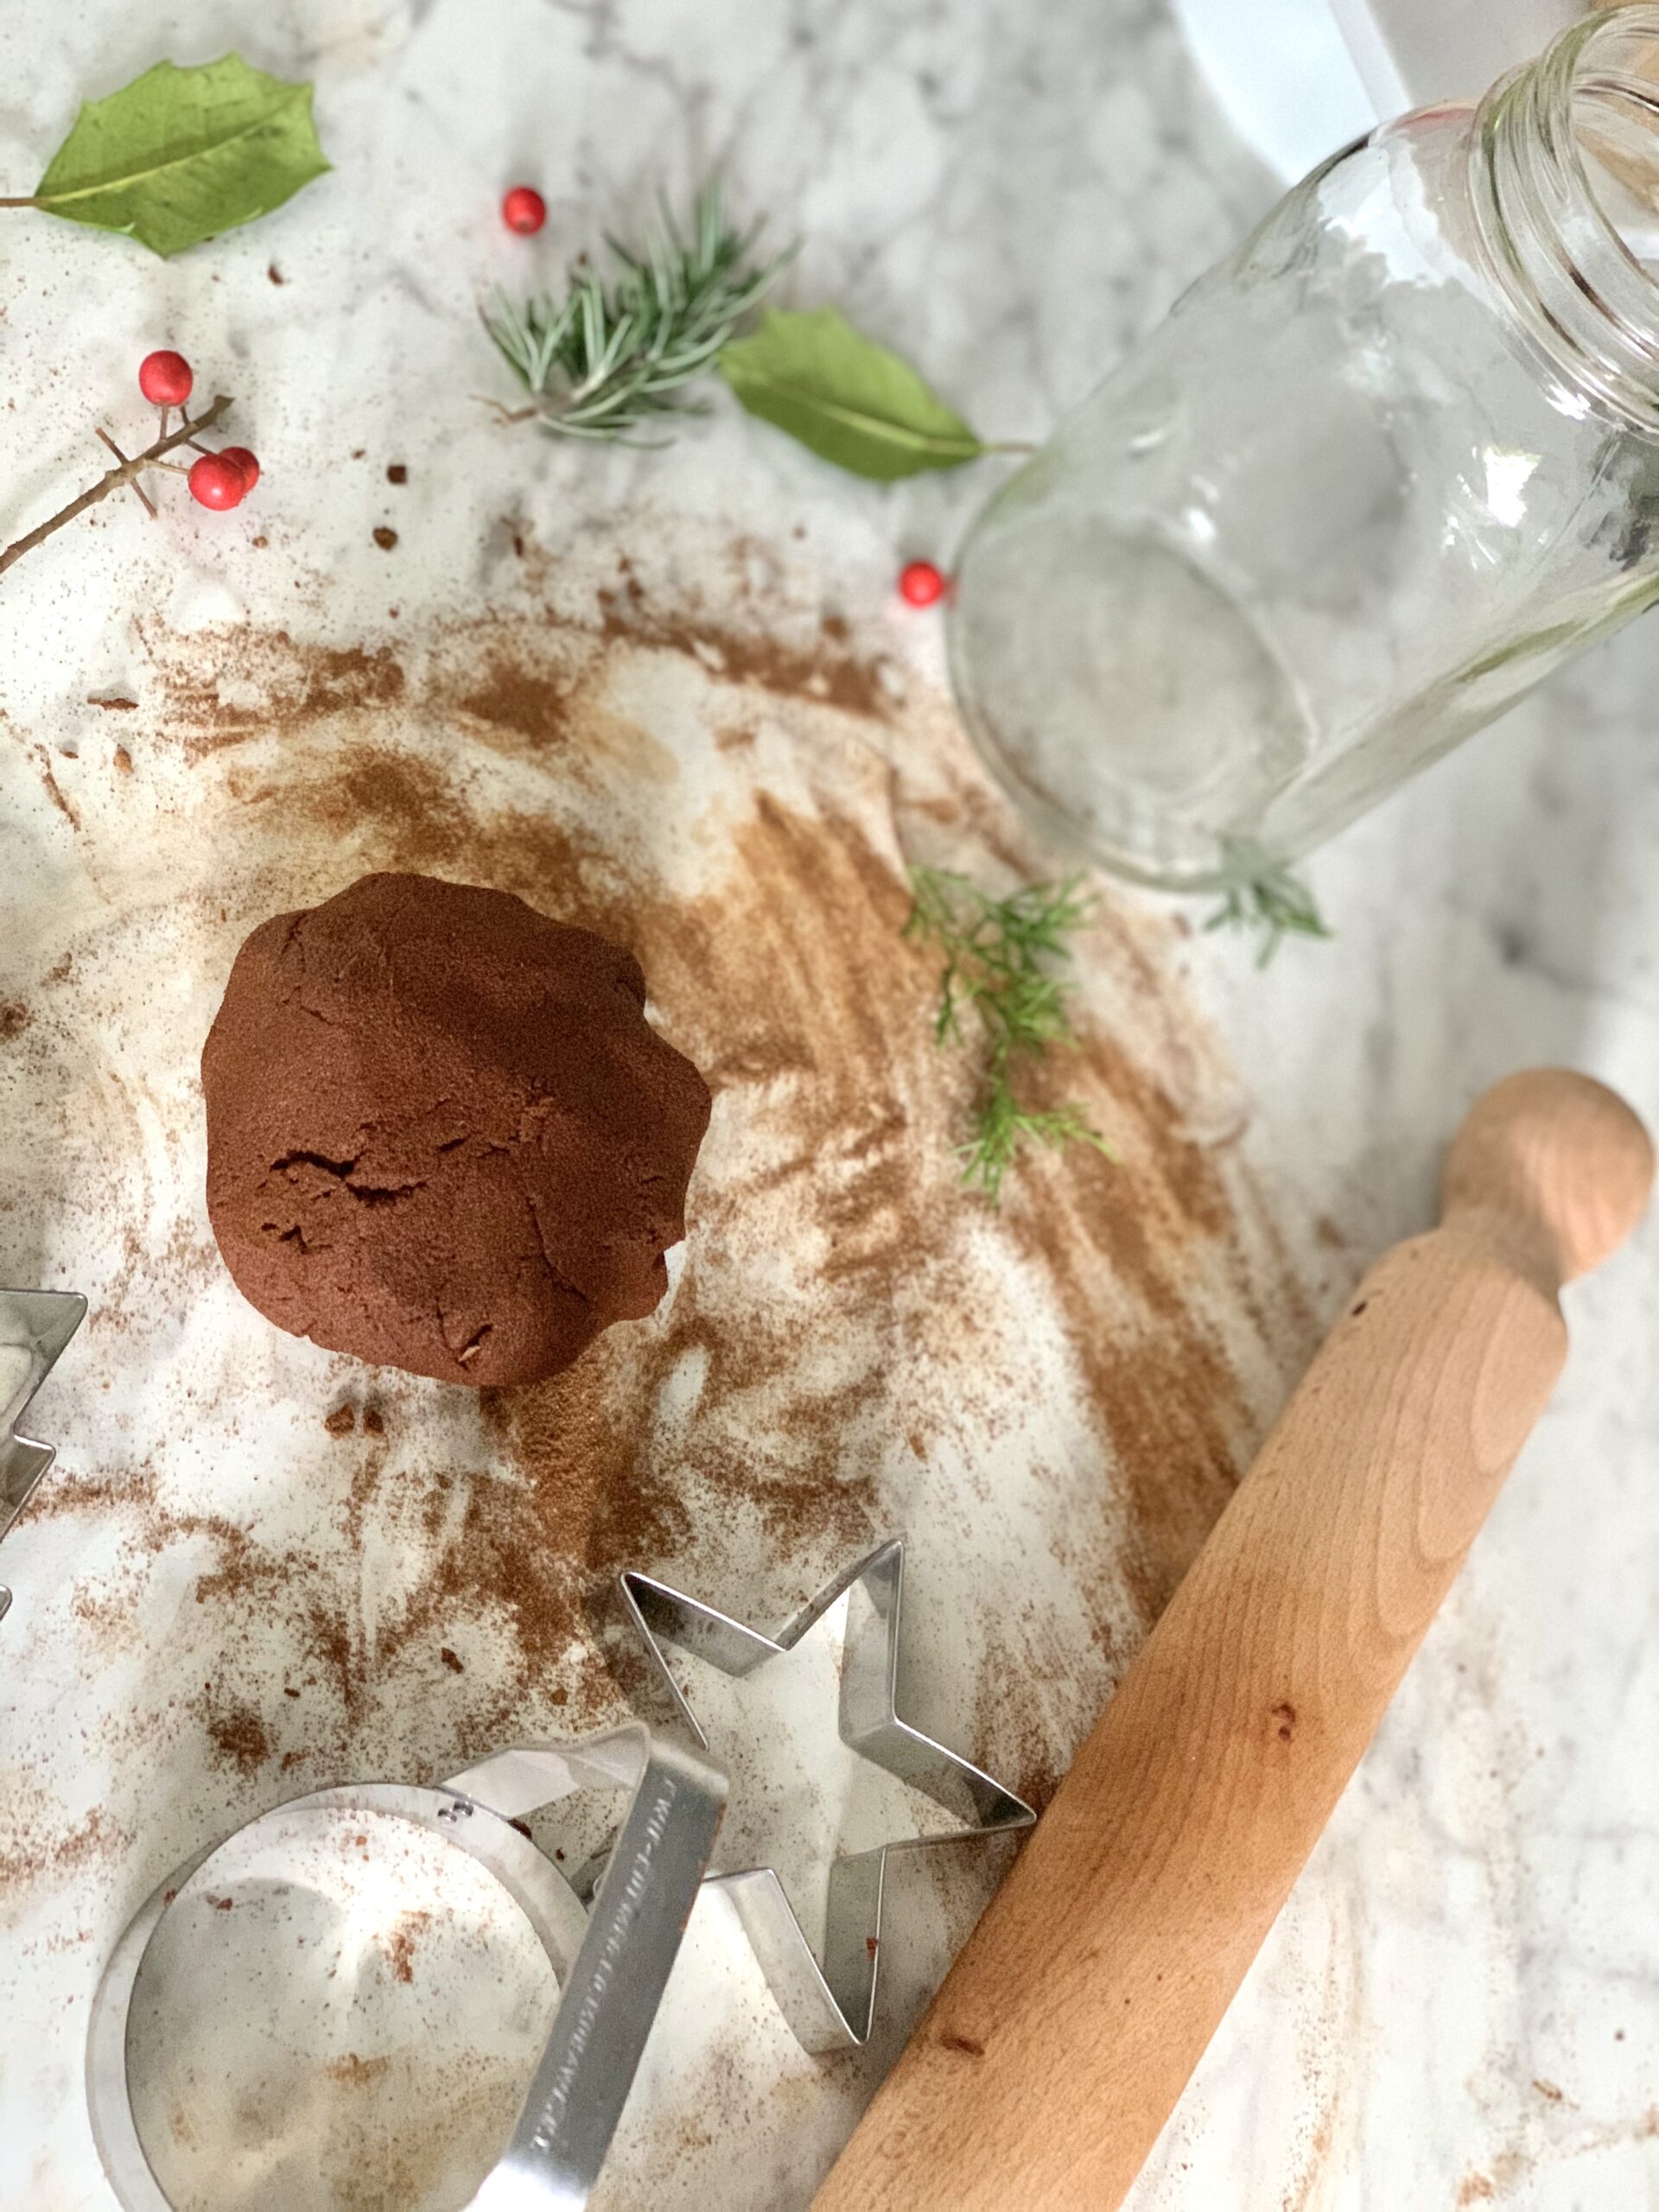
Homemade Nature-Inspired Cinnamon Ornaments (a core childhood memory maker!)
Need a fun and easy DIY project for the kids? This DIY nature-inspired cinnamon ornaments craft is a great option for the whole family to get involved in! The ingredients are simple and the end result is beautiful and smells incredible.
Make memories with your children this year by making your own homemade cinnamon ornaments to hang on your Christmas tree or to gift to others.

Pin this cute idea for your friends to see too
Find Johnson Home NC on Pinterest @johnsonhomenc

Or feel free to share this how-to on your Facebook for your friends to see. Give our FB page a follow while you’re there too for real-time recipes I’m using in my kitchen that day and garden tips too!
If you liked making this quick and easy craft, here’s a read on how to start homesteading today right where you are! Homesteading is a state of mind, not 20 acres in the country.
If you like super easy recipes, here are a few of my favorites:
Follow along for more like this
Keep up to date on recent posts and sharings and more on Facebook, Pinterest, YouTube, and Instagram: @johnsonhomenc and
sign up for my weekly newsletter where I share read time gardening and kitchen things from my home to yours: HERE.
If you try this out or any of the other FREE DIY crafts, come back and leave a comment or share a picture on Facebook, Instagram, or Pinterest so I can see it! Tag my account: @johnsonhomeNC on Instagram or Facebook.
Check out other Johnson Home NC affiliated links HERE.
DIY Stackable Pumpkins
Equipment
- 1 glue gun
- 1 glue stick
- 3-4 assorted sizes small pumpkins (check your local dollar stores and Wal-Mart)
Instructions
- First, find 3 or 4 pumpkins of all different sizes but pretty close to the same size. Place them in order from smallest on the left to largest on the right.
- Then take all except your smallest pumpkin and gently pull off the stem. You may need to cut it off but do make sure where the stem was is flat.
- Next, take the largest and the next biggest pumpkin and use your hot and ready glue gun to put glue on the largest pumpkin’s missing stem area.
- Then take the next largest pumpkin and press its bottom firmly down on top of the glue on the largest pumpkin. Hold the two pumpkins together for a few seconds to make sure the glue dries.
- Repeat this step above for your next pumpkins until the smallest pumpkin with its stem still intact is the last pumpkin on the stack, on top.