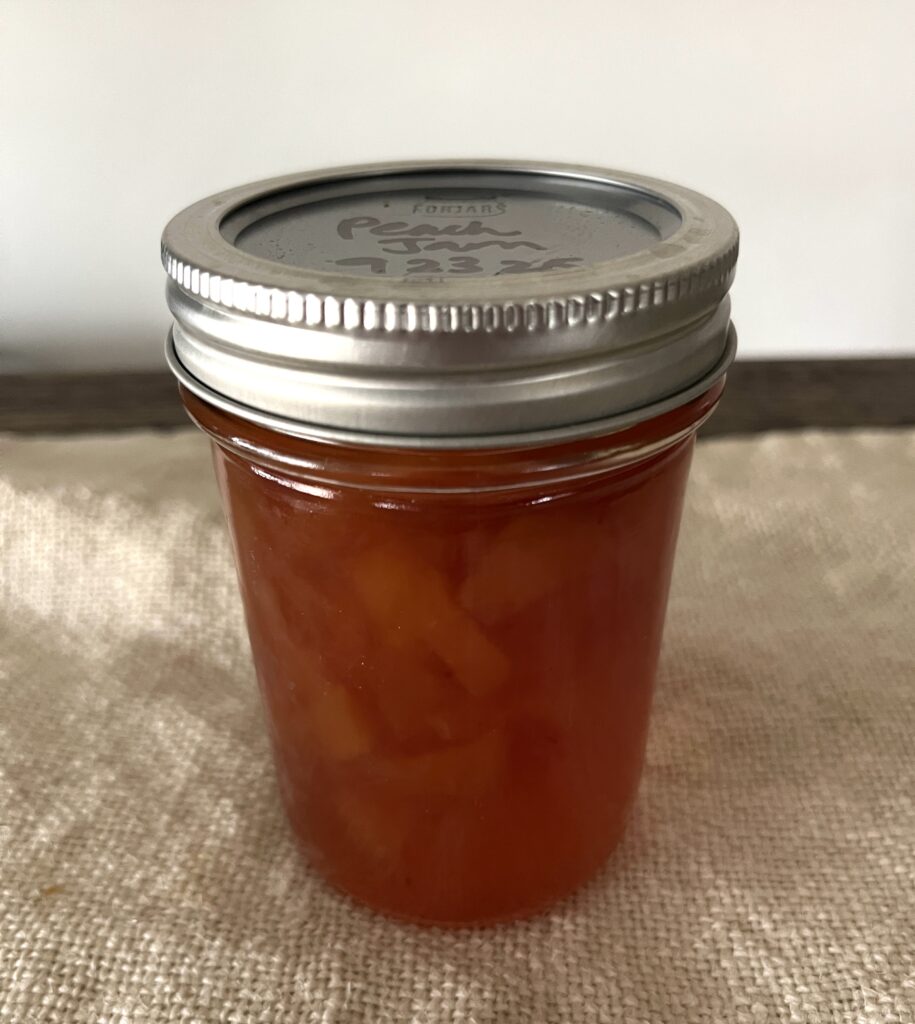
Homemade peach jam is easy to make and you need NO pectin to make it! This sweet treat is fantastic on a slice of lightly toasted buttered sourdough toast or even a small dollop on a bowl of old fashioned vanilla ice cream. Try this peach jam with farm fresh peaches to stock your larder with simple, delicious, and real food ingredients fruit jam.
This post contains affiliate links, which means I make a small commission at no extra cost to you. Always shop small, local, and/or direct when you can, though!
Free Printable Label
Enjoy this free printable label for your jars of peach jam! Click the button below to find peach jam and all my other FREE printable labels too.

Peach Jam Ingredients
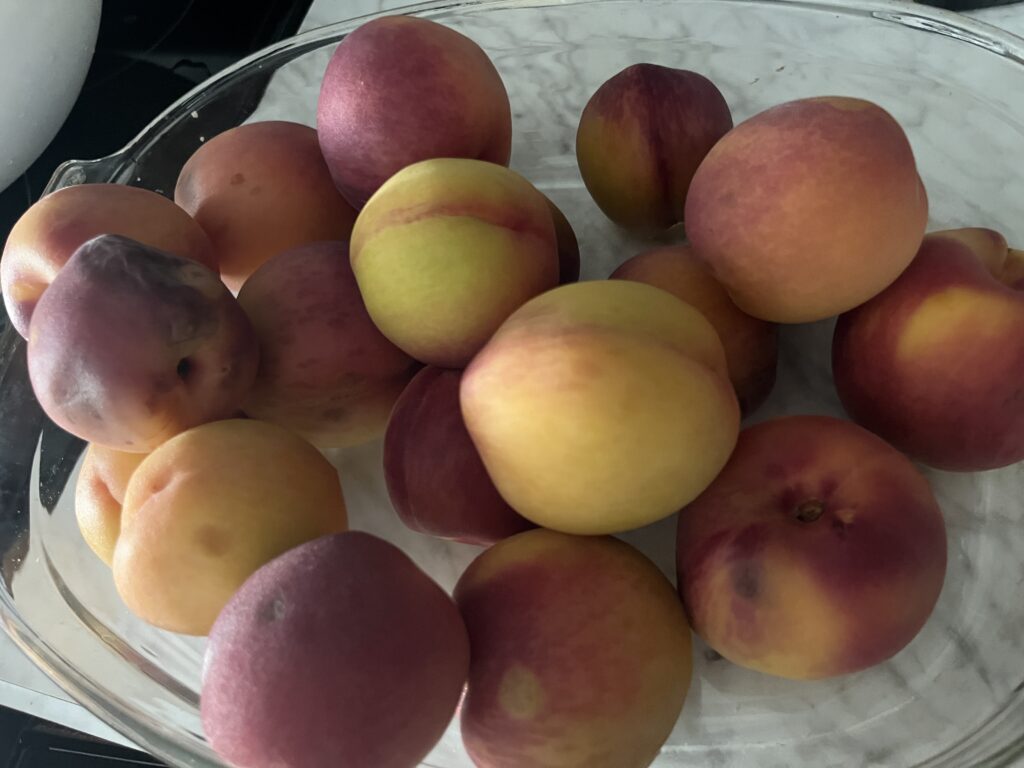
8 cups fresh peaches (measure when peeled and diced, about 12-16 medium peaches)
5.5 cups granulated sugar
1/4 cup lemon juice
1 teaspoon salt
optional flavor enhancers: 1 teaspoon cinnamon or 1/2 teaspoon nutmeg or 1 1/2 teaspoon ground ginger, or any combination)
How to make peach jam step by step:
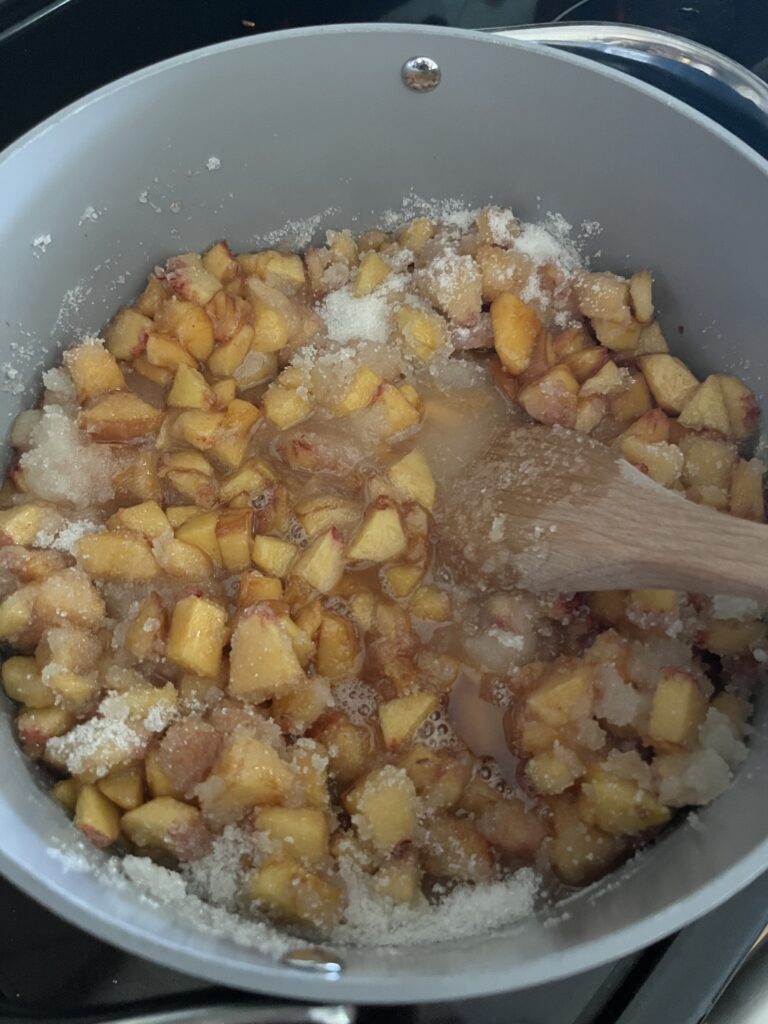
Jump to Recipe- Step 1: peel peaches of skin and de-seed, then dice or rough chop the peaches and put into a large soup or sauce pot on the stove.
- peaches may need to be blanched for easier peeling. See below for the best way to peel peach skin.

- Step 2: add all other ingredients to the pot with the peaches.
- Step 3: cook peach mixture on medium-low heat, stirring very often as not to stick, for 45 minutes to 1 hour. The liquid will significantly reduce during this time. At about 30 minutes, do the plate test below to check for readiness.
Prepare jars, lids, rings, and canner
- during the cook time, prepare the jars, lids, and rings. Do this by washing jars with warm water and soap. If you prefer jars to be sanitized, dishwasher the jars or add to the oven on 230 degrees Farenheit for 15 minutes. Lids and rings should be washed with soapy water as well. Rings should not be rusted. This may affect sealing.
- start your water bath canner by boiling water, enough water to cover the tops of the half pint jars by 1 inch.
- Step 4: add jam to each jar leaving a 1/4 inch head space.
- Step 5: using a clean, moistened paper towel or kitchen towel, wipe the rim of the jar to remove any jam before adding the lid and ring. Tighten to finger tightness.
- Step 6: carefully place each jar into the water bath canner and allow the water to reach rolling boil again. Once water is at a rolling boil, start the timer for 10 minutes. After 10 minutes of processing, turn off the heat and allow the jars to sit in the water for 5 more minutes.
- Step 7: carefully remove each jar from the canner and place on top of a towel in an out of the way place to rest. Each jar will cool best with 1 inch spacing between the jars. Drape another towel over the jars for their 12-24 hour rest time to allow the jars to cool slowly.
- Step 8: once cooled, label each jar with name and date. Or use the provided free printable label from this post!
Recipe makes about 8 half pint jars of peach jam.
Test jam for readiness
To test if the jam is ready to be jarred, you can do the plate test.
This means storing a small serving plate in the freezer for at least 10 minutes while you are just beginning to stir. When you believe the jam is ready, remove the plate from the freezer and add half a spoonful of jam to the plate. Place the plate back into the freezer for 1 minute. After this time, turn the plate sideways so the jam can run down the plate vertically. Swipe your finger through the jam. If the swiped area remains, your jam is ready. If the jam runs into the swiped area at a fast pace, you will need to stir it for about 5 more minutes, then repeat test.
Smooth vs. chunky jam
If you prefer your peach jam to be smoother, consider using an immersion blender in the peach/sugar mixture while it is cooking. This will make the peach jam more of a puree.
If you prefer chunks in your jam, leave the peaches as is. Some will fall apart during cook time but most of the diced peach pieces will stay intact.
How much time will I need for this recipe?
First of all, homemade anything takes time. You will need to devote some time in your day to start and finish this project!
To prepare (blanche, skin, core, dice) peaches will take about 15-20 minutes.
The cook time takes the most time at about 45 minutes-1 hour.
To can this fruit jam for long term storage, the water bath part takes 15 minutes and the rest takes 12-24 hours.
Subtracting rest time, total peach jam recipe time spent is about 2 hours.
How much fruit jam does this recipe produce?
This recipe makes approximately 8 half pint jars that are perfect for gifting.
There may be a smidge left over so have a 9th half pint jar available to pour the rest into and immediately eat or fridge it.
How long can fruit jam last?
When you water bath can fruit jam that is high in sugar as most jams are, shelf life can exceed a year. Some will tell you to consume your shelf-stable fruit jam within the year. Others will say it can last longer. When properly canned and sealed, I believe it can last longer. PLEASE SEE MY DISCLOSURE STATEMENT HERE.
Once a jar of peach jam has been opened, store it in the refrigerator for up to 2 weeks.
Of course, if you notice any mold growing on or in your jam at any point, immediately dispose of the jam. Do not risk it. The jar can be saved and sanitized for another use later.
The best way to peel peaches for peach jam
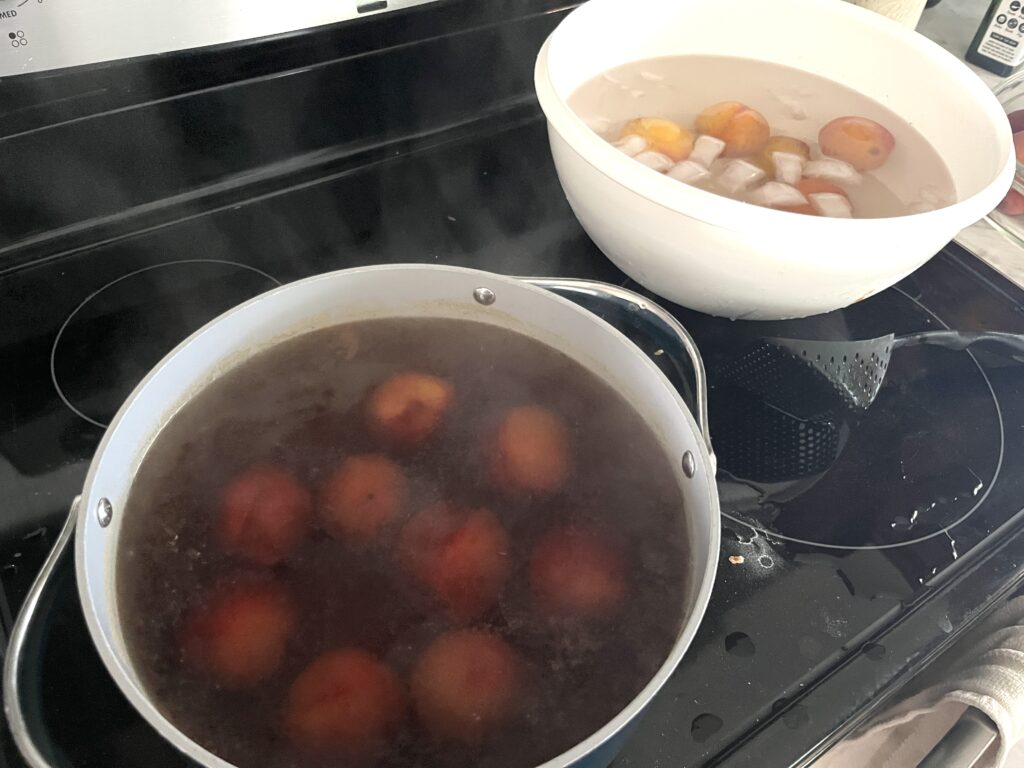
If your peaches aren’t on the brink of going bad, then the skin is likely to be pretty tight and thus, hard to peel.
The best way to peel peaches for peach jam is to blanche them!
Boil a soup pot of water then drop each peach into the water for about 30 seconds. Remove peach from the water and immediately immerse it in an ice bath.
An ice bath is a large pot or bowl full of ice and water.
Allow the peach to cool down then use a paring knife to slit the peach’s skin. The skin will come off very easily.
Give the peach skins to your chickens, compost bin, or bury in the garden! Your garden will thank you later.
Can I make peach jam with frozen peaches?
Yes, you can make homemade peach jam with frozen peaches.
Pros: no peach skin to peel, no need to remove the seed
Con: longer cook time (add at least an additional 15 minutes to your cook time)
What spices can you add to peach jam?
Peaches pair well with cinnamon, nutmeg, and ginger. Individually or together.
For a warmer, more delightful taste in the wintertime fruit jam, adding cinnamon enhances the flavor of the peaches while adding a depth of warmth to the pallate.
Add a half of a cinnamon stick to each jar for additional flavoring and gifting aesthetic.
Try peach jam on:

Here are some homemade recipes that pair very well with your peach jam:
No Fuss Sourdough Bread made into toast
Old Fashioned, Eggless Vanilla Ice Cream
Pancakes:
If you liked this recipe, there’s more here:
Feel free to follow Johnson Home NC on Facebook, Instagram, Pinterest, and YouTube.
Allow me to slip into your email inbox weekly with kitchen, gardening, and chicken raising real time happenings from our one acre North Carolina homestead right to you by joining our email list HERE.

Peach Jam
Ingredients
Equipment
Method
- Step 1: peel peaches of skin and de-seed, then dice or rough chop the peaches and put into a large soup or sauce pot on the stove. Peaches may need to be blanched for easier peeling. See below for the best way to peel peach skin.
- Step 2: add all other ingredients to the pot with the peaches.
- Step 3: cook peach mixture on medium-low heat, stirring very often as not to stick, for 45 minutes to 1 hour. The liquid will significantly reduce during this time. At about 30 minutes, do the plate test below to check for readiness. During the cook time, prepare the jars, lids, and rings. Do this by washing jars with warm water and soap. If you prefer jars to be sanitized, dishwasher the jars or add to the oven on 230 degrees Farenheit for 15 minutes. Lids and rings should be washed with soapy water as well. Rings should not be rusted. This may affect sealing.Start your water bath canner by boiling water, enough water to cover the tops of the half pint jars by 1 inch.
- Step 4: add jam to each jar leaving a 1/4 inch head space.
- Step 5: using a clean, moistened paper towel or kitchen towel, wipe the rim of the jar to remove any jam before adding the lid and ring. Tighten to finger tightness.
- Step 6: carefully place each jar into the water bath canner and allow the water to reach rolling boil again. Once water is at a rolling boil, start the timer for 10 minutes. After 10 minutes of processing, turn off the heat and allow the jars to sit in the water for 5 more minutes.
- Step 7: carefully remove each jar from the canner and place on top of a towel in an out of the way place to rest. Each jar will cool best with 1 inch spacing between the jars. Drape another towel over the jars for their 12-24 hour rest time to allow the jars to cool slowly.
- Step 8: once cooled, label each jar with name and date. Or use the provided free printable label from this post!